
Flowers
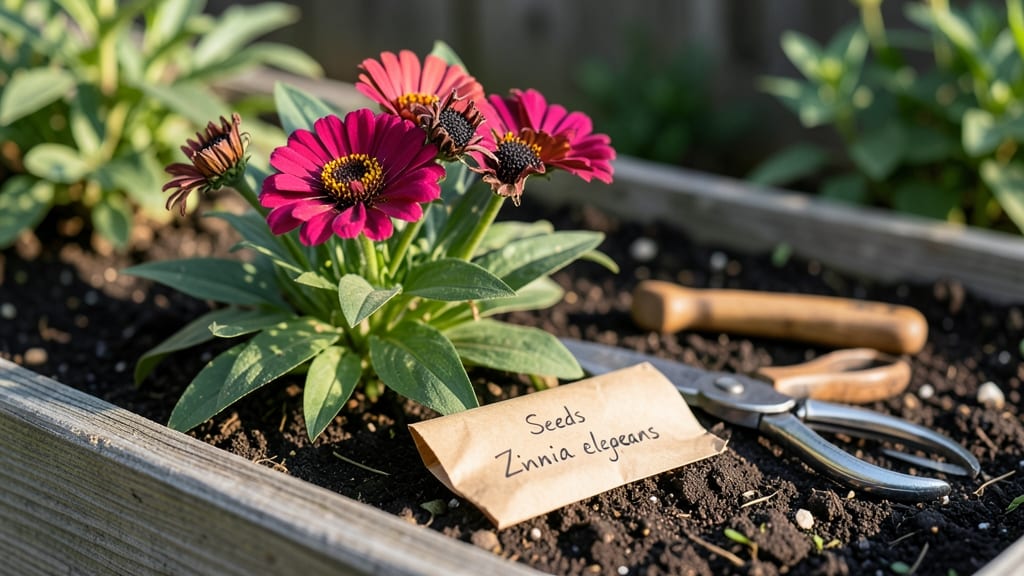
Saving flower seeds turns last year’s spent blooms into next season’s free, heirloom-quality plants—it’s the gardener’s version of cloning your best performers. 🌻 I’ve saved seeds from marigolds, zinnias, and cosmos for years, and the difference between store-bought annuals and my homegrown varieties is night-and-day: bigger blooms, longer seasons, and colors you’ll never find in seed racks.
The process starts with timing: harvest seeds when the pods turn brown or papery but before they split open on the plant. For zinnias, that’s usually 2-3 weeks after flowering; marigolds take about 4 weeks.
You’ll need brown paper bags for drying, a cool dark spot, and envelopes labeled with the variety and year—no fancy equipment, just patience and observation. Even my first attempt produced viable seeds, though I did lose a bag of snapdragons to mold (learned that the hard way).
By late winter, you’ll be holding tiny treasures that could grow into vibrant borders—imagine zinnias in every shade of pink or marigolds that repel pests naturally.
The payoff isn’t just cost savings (a single packet multiplies into dozens of plants), but the thrill of growing flowers that carry your garden’s DNA forward. Next, we’ll walk through the full drying and storage process step-by-step.
This method works for most annuals and many perennials, though some (like delphiniums) self-sow reliably without intervention. The key is consistency—store seeds in a cool, dry place and check them occasionally for moisture or pests. Once you master it, you’ll never buy annuals again.
📚 In This Guide
- What you need
- Instructions
- Tips and common mistakes
- Wrapping up and next steps
What you need
- ● Mature, healthy flower heads: Choose seeds from non-hybrid (heirloom or open-pollinated) flowers like zinnias, cosmos, or marigolds. Harvest when they’re fully dry and brown.
- ● Paper bags or envelopes: 3–5 (1–2 oz size) for each seed type. Label with the flower name and date using a fine-tip marker.
- ● Scissors or pruners: Sharp pair to snip seed heads cleanly without damaging stems.
- ● Drying surface: A clean, flat tray or cardboard box (line with newspaper or parchment paper).
- ● Air-tight containers: 1–2 (small mason jars, glass vials, or resealable plastic bags with silica gel packets).
- ○ Pencil or chopstick: For stirring seeds gently during drying (optional but helpful!).
- ● Silica gel packets: 1–2 (for moisture control in storage containers).
- ● Desiccant bags: Pre-made seed storage bags with built-in drying agents.
- ● Magnifying glass: For inspecting seeds for pests or mold before storage.
- ● Humidity monitor: A small digital hygrometer (0–50% humidity ideal) to check storage conditions.
- ● Printable seed labels: Free templates from gardening websites for a polished look.
Step-by-Step guide to saving flower seeds for next season
Reviving next year’s garden starts with these simple steps—harvesting, drying, and storing seeds properly.
🌱 Step 1: Identify and Harvest Mature Seed Pods
Wait until seed pods on your flowers turn brown and begin to dry on the plant—this signals they’re ready for collection. I like to harvest in the morning when dew is light, as the pods are firmer and less likely to crumble. Use clean scissors or fingers to snip or twist off the pods, placing them in a paper bag (not plastic) to allow airflow.
Don’t rush—if pods are still green, they won’t dry properly and may mold. A good rule is to harvest when the pod splits open naturally or when you can hear seeds rattling inside. For flowers like zinnias or cosmos, this usually happens in late summer or early fall, depending on your climate.
💧 Step 2: Dry Seed Pods Thoroughly Before Handling
Spread the harvested pods in a single layer on a clean, dry surface like a mesh screen or paper towel. Place them in a warm, dry spot with good air circulation—think of a sunny windowsill or a well-ventilated room. Avoid direct sunlight, which can overheat and damage the seeds.
Drying takes 7-14 days, depending on humidity. You’ll know they’re ready when the pods are completely brittle and the seeds inside can be easily shaken out. If you’re impatient, a dehydrator set to 100°F speeds up the process in 24-48 hours, but monitor closely to avoid overheating.
✂️ Step 3: Extract and Clean the Seeds
Once fully dry, gently crush the pods between your fingers or rub them over a clean sheet of paper to release the seeds. For sticky or fibrous seeds (like milkweed), soak them in lukewarm water for 12-24 hours to loosen the pulp, then rinse and dry again. Spread the seeds on a fresh paper towel and let them air-dry for another 24 hours to ensure all moisture is gone.
Remove any debris or empty seed casings by hand—this keeps your stored seeds pure and prevents mold. I like to use a fine-mesh strainer for seeds like poppies, which are tiny and easy to lose. Store only the cleanest seeds in your final containers.
🪴 Step 4: Store Seeds in Airtight Containers
Transfer the dried seeds into airtight containers like glass jars, small plastic bags with zip locks, or seed envelopes. Label each container with the flower name, variety, and harvest date—trust me, you’ll forget by spring! Store them in a cool, dark place, like a pantry or refrigerator, where temperatures stay between 35-50°F.
Seeds stored this way stay viable for 1-5 years, depending on the type. For long-term storage, add a silica gel packet to absorb excess moisture. Avoid the freezer unless you’re storing seeds for decades, as frequent temperature fluctuations can degrade viability.
⏰ Step 5: Test Viability Before Planting Next Year
Before you rush to plant, test a few seeds to ensure they’re still good. Sprinkle 10 seeds on a damp paper towel, fold it over, and place it in a ziplock bag. Keep it in a warm spot (70-75°F) and check daily. Most seeds should sprout within 7-14 days. If fewer than 50% germinate, your seeds may have lost viability and it’s time to buy new ones.
This simple test saves you from planting dozens of seeds only to watch them fail. If they pass, you’re ready to start your garden fresh—just follow the same planting instructions as you would for store-bought seeds!
Tips & tricks for perfectly preserved flower seeds
A few simple tricks will help you save seeds that stay fresh and viable for years to come.
Harvest Timing: I learned this the hard way after ruining three batches—wait until pods are completely brown and dry before harvesting. If you pick them too early, they won't dry properly and may develop mold. For flowers like zinnias, listen for that telltale rattling sound inside the pods—it means the seeds are ready. Harvesting in the morning gives you the firmest pods with less risk of crushing.
Drying Strategy: The 7-14 day drying period in Step 2 is crucial, but humidity can throw off your timeline. If your kitchen feels damp, consider using a fan on low to improve airflow around your drying pods. For faster results, a dehydrator at 100°F works wonders in just 24-48 hours—just check them every 30 minutes after the first hour to prevent overheating. The pods should be brittle enough to crush easily between your fingers.
Seed Cleaning: When dealing with sticky seeds like milkweed, don't skip the 12-24 hour lukewarm water soak in Step 3. This removes that fibrous pulp that can cause mold during storage. After soaking, spread seeds on a fresh paper towel and let them air-dry for another full 24 hours—this extra drying step prevents moisture from getting trapped in your final storage containers. For tiny seeds like poppies, a fine-mesh strainer is your best friend to avoid losing them during cleaning.
Storage Wisdom: The cool, dark environment between 35-50°F in Step 4 is non-negotiable for long-term viability. I keep my seed collection in the back of my pantry where the temperature stays consistently cool. For extra protection against moisture, add a silica gel packet to your storage container—it's the secret to keeping seeds fresh for their full 1-5 year lifespan. Avoid the freezer unless you're planning to store seeds for decades, as temperature fluctuations can actually reduce viability over time.
Pro Tips for Saving Flower Seeds
- A few simple tricks will help you save seeds that stay fresh and viable for years to come.
- Harvest Timing: I learned this the hard way after ruining three batches—wait until pods are completely brown and dry before harvesting.
- Drying Strategy: The 7-14 day drying period in Step 2 is crucial, but humidity can throw off your timeline.
Frequently asked questions
Got questions about saving flower seeds?
You’re not alone! Here are answers to the most common concerns—from timing to troubleshooting—so you can confidently preserve seeds for next year’s garden.
When is the best time to harvest flower seeds?
Harvest seeds when the flower heads are fully mature but before they shatter or turn brown. For annuals, this is often after the petals fall; for perennials, wait until late summer or early fall. Watch for seed pods to dry slightly—press gently to check if they’re crispy inside.
How long can I store saved flower seeds?
Most flower seeds stay viable for 1–5 years if stored properly in a cool, dry place (like a sealed container in the fridge). Some, like Echinacea or Black-Eyed Susan, may last longer, while delicate varieties (e.g., Poppies) lose viability faster. Label seeds with the date to track freshness!
What if my seeds don’t germinate after saving?
Try these fixes:
- Stratification: Some seeds (like Delphinium) need cold treatment—mix them with damp sand and refrigerate for 4–8 weeks before planting.
- Freshness test: If seeds are old, soak a few in water overnight. Sunk seeds are likely viable.
- Light exposure: Many flower seeds need light to germinate—sprinkle them on soil (don’t bury deeply).
Can I save seeds from hybrid flowers?
Probably not—if the plant label says “F1 Hybrid,” the seeds won’t grow true to the parent. For reliable results, save seeds from heirloom or open-pollinated varieties (check seed packets!). Hybrid flowers often produce weak or unpredictable offspring, but you can still experiment for fun (or donate extras to seed libraries).
Do I need special paper for seed envelopes?
Nope! Use any acid-free paper (like coffee filters, wax paper, or even folded cardstock) to prevent moisture damage. Avoid newspaper or glossy paper, which can degrade over time. Label each envelope with the plant name, date, and location (e.g., “Sunny Window”) for easy organizing. Pro tip: Add a tiny seed sample to the envelope for reference!
Wrapping up and next steps
Saving flower seeds is a rewarding way to preserve beauty and reduce waste—plus, it’s easier than you think! 🌸 With the right tools and a little patience, you’ll have fresh blooms year after year. Start small—pick one or two favorite varieties to practice—and soon, you’ll be a seed-saving pro.
Ready to grow your green thumb? Grab a pair of scissors, a dry spot, and a labeled jar, then dive in! Your future garden (and wallet) will thank you. 🌱