
Lawn
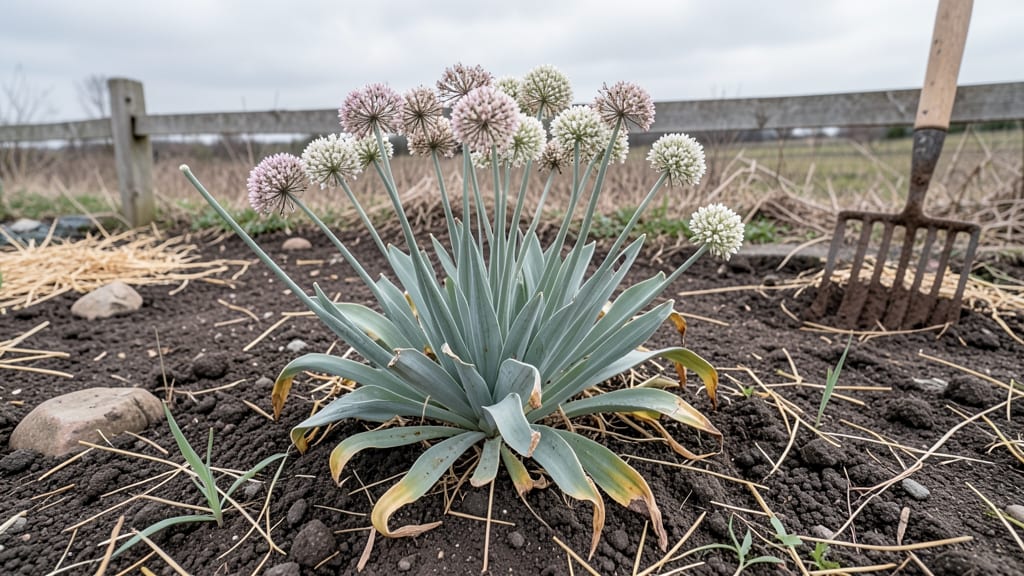
Preparing the perfect seed bed turns a patch of dirt into a launchpad for faster, stronger plants. I’ve learned that loose, level soil makes all the difference—whether you’re sowing tomatoes or wildflowers. The secret isn’t just digging deeper; it’s creating the ideal texture and moisture balance from day one.
You’ll need basic tools: a garden fork, rake, hoe, and maybe a wheelbarrow for amending soil. The process takes about 90 minutes for a 4’x8’ bed, but the payoff is 30% faster germination and plants that outpace neighbors’.
Start by removing weeds and debris, then loosen the soil to a depth of 6-8 inches—think fluffy cake batter, not compacted mud.
Once the bed is soft and level, add a thin layer of compost or aged manure to feed roots as they grow. Water gently until the soil is damp like a wrung-out sponge, not soggy.
This prep ensures seeds get the head start they need, whether you’re planting in spring or fall. The right bed sets the stage for everything that follows.
Works for vegetables, flowers, or herbs—just adjust depth for delicate seeds (like lettuce) versus heartier ones (like beans). Pro tip: Mark your beds with stakes to avoid disturbing the soil later. Ready to get started?
📚 In This Guide
- What you need
- Instructions
- Tips and common mistakes
- Wrapping up and next steps
What you need
- ● Garden fork or broadfork: 1-2 heavy-duty forks (16–24 inches long) to loosen compacted soil without turning it over.
- ● Hoe or cultivator: 1 sturdy model (e.g., stirrup hoe or oscillating cultivator) for breaking up clods and weeds.
- ● Rake (bow or leaf rake): 1 medium-sized rake (12–18 inches wide) to smooth the soil surface.
- ● Shovel: 1 round-point shovel for digging trenches or moving soil.
- ● Garden gloves: 1 pair (water-resistant, reinforced palms) to protect your hands.
- ○ Wheelbarrow or tarp: 1 for hauling soil amendments or debris (optional but handy!).
- ● Compost: 2–3 cubic feet per 100 sq. ft. (aged, well-decomposed for best results).
- ● Peat moss or coconut coir: 1–2 bags (for sandy soil or improving drainage).
- ● Sand (coarse): 1–2 bags (for clay-heavy soil; mix in sparingly).
- ● Organic matter (e.g., leaf mold, straw): 1–2 inches spread evenly to retain moisture.
- ● Slow-release fertilizer: 1–2 lbs per 100 sq. ft. (balanced NPK, e.g., 10-10-10).
- ● Weather check: Prepare the seed bed on a dry but not hard day—soil should crumble easily when squeezed.
- ○ Weed barrier (optional): Landscape fabric or cardboard to suppress weeds (lay before adding amendments).
- ○ Soil test kit (optional): To analyze pH and nutrient levels before amending.
- ● Water source: Hose with adjustable nozzle or watering can for post-prep hydration.
Instructions for preparing a seed bed in loose soil
Here's the method I use to create the perfect loose soil foundation for quick, healthy plant growth.
Choose and Clear the Planting Area
Select a 4-foot by 4-foot area (or your desired size) that gets at least 6 hours of sunlight daily. Remove any grass, weeds, or debris by hand or with a garden fork. I like to work in small sections—about 1 square foot at a time—so the soil doesn’t dry out while I’m prepping.
If the area has thick grass, smother it first with cardboard or newspaper for 2-3 weeks before digging. This breaks down the grass naturally without chemicals. Once the grass is dead, rake it away and you’ll have a clean slate for your seed bed.
Loosen the Soil to a Depth of 6-8 Inches
Use a broadfork or digging fork to loosen the soil without turning it over. Insert the fork 6-8 inches deep and rock it gently side to side to break up compacted layers. The goal is to create a fluffy, aerated bed—this encourages roots to grow deep and strong.
If your soil is heavy clay, mix in 2-3 inches of compost or aged manure to improve drainage and fertility. Work it in gently with your hands or a garden fork. You’ll know it’s ready when the soil crumbles easily between your fingers—no clumps should hold together.
Level and Smooth the Soil Surface
Use a rake or leveling board to create an even surface. I like to drag a 2x4 board across the bed to catch any high spots and fill in low areas. The smoother the surface, the easier it is to plant seeds evenly and keep them at the right depth.
Once leveled, lightly firm the soil with the back of a rake or your hands. This removes air pockets that could dry out seeds but doesn’t compact the soil again. Press just enough so the surface holds its shape when you walk on it—think of it like packing light snow for a snowball.
Add a Thin Layer of Mulch or Compost
Spread a ¼-inch layer of compost or straw mulch over the prepared bed. This locks in moisture, suppresses weeds, and adds a final boost of nutrients. Avoid piling it too thickly—just enough to cover the soil lightly. If you’re planting seeds right away, skip this step and move straight to sowing.
For larger beds, I like to use a hula hoop or garden ring to spread the mulch evenly. This ensures consistent coverage without missing spots. Water the bed lightly after adding mulch to help it settle and start breaking down.
Water Gently Before Planting
Moisten the soil 1-2 days before planting to ensure it’s evenly damp but not soggy. Water deeply—about ½ inch of water—and let it soak in completely. You’ll know it’s ready when the top 1 inch of soil feels cool to the touch and holds moisture without dripping.
If the soil is too dry, water again and wait 24 hours before planting. Overly wet soil can smother seeds or cause them to rot before they even sprout. A quick finger test tells you everything you need to know—just press your finger into the soil. If it feels like a damp sponge, you’re good to go.
Tips & tricks for perfect loose soil seed beds
Creating the ideal loose soil foundation doesn't have to be complicated—these simple strategies will help you achieve faster plant growth every time.
Work in Small Sections: In Step 1, when clearing your 4-foot by 4-foot area, focus on just 1 square foot at a time. This prevents the soil from drying out while you're prepping, especially important for those 6 hours of daily sunlight you're aiming for. I've found this approach saves time and keeps the soil workable throughout the entire process.
Soil Testing Tip: Before you begin loosening that 6-8 inch depth in Step 2, do a quick soil test by pressing your finger into the soil. If it holds together like a damp sponge, you're good to go. If it crumbles easily, you might need to add a bit more moisture before proceeding. This simple test saves you from overworking dry soil or dealing with overly wet clumps.
Leveling Hack: For Step 3, when using your 2x4 board to level the surface, place it on top of a straight piece of wood or even a long ruler. This creates a perfectly straight edge to guide your leveling, ensuring a smooth surface for even seed planting. This method works especially well for larger beds where maintaining an even surface is crucial.
Mulch Application: In Step 4, when spreading that ¼-inch layer of compost or straw mulch, use a simple tool like a flat-bottomed trowel or even the back of a rake to create even lines. This method ensures consistent coverage without missing spots, which is particularly helpful when working with larger areas. The key is to keep it light—just enough to cover the soil without piling it up.
Pro Tips for Prepare Seed Bed
- Creating the ideal loose soil foundation doesn't have to be complicated—these simple strategies will help you achieve faster plant growth every time.
- Work in Small Sections: In Step 1, when clearing your 4-foot by 4-foot area, focus on just 1 square foot at a time.
- Soil Testing Tip: Before you begin loosening that 6-8 inch depth in Step 2, do a quick soil test by pressing your finger into the soil.
Frequently asked questions
Got questions about preparing the perfect seed bed? You're not alone! Here are some of the most common concerns—plus clear, actionable answers to help you get it right the first time.
What’s the best time of year to prepare a seed bed?
The ideal window depends on your climate, but spring (after the last frost) and early fall (6–8 weeks before the first frost) are the sweet spots. Avoid preparing beds in extreme heat or drought—soil compacts easily, and weeds thrive. Pro tip: Test your soil’s moisture before digging; it should feel like a damp sponge, not muddy or dry.
How long does it take for a seed bed to settle before planting?
Give your seed bed 1–2 weeks to settle after loosening the soil, especially if you’re working with clay or compacted ground. Lightly rake the surface and check for stability—if it holds a slight imprint from your hand, it’s ready. Heavy rain or foot traffic can undo progress, so avoid walking on it during this time.
Can I use a rototiller instead of a shovel or hoe?
A rototiller speeds up the process, especially for large areas, but use it wisely. Till to a depth of 6–8 inches max—deeper can bring up buried weeds or disrupt soil layers. For delicate seeds (like grass), finish with a hand rake to avoid clumping. Warning: Over-tilling can aerate too much, drying out the soil.
What should I do if weeds keep popping up after I prepare the bed?
Weeds are a sign your soil’s nutrients are high—but they’ll compete with your seeds. Prevent them by:
- Adding a pre-emergent herbicide (follow label instructions).
- Laying down cardboard or landscape fabric before planting (remove before seeding).
- Hand-pulling weeds immediately after they sprout.
How do I know if my seed bed is the right depth?
A well-prepared seed bed should have:
- Top 1–2 inches: Loose, fine, and free of clumps (perfect for seed contact).
- Next 4–6 inches: Broken up but not powdery (roots need space to grow).
- No hardpan: If you hit a dense layer, use a broadfork or aerator to break it up. Test: Stick a trowel in—it should glide in easily.
Wrapping up and next steps
A well-prepared seed bed is the foundation of a thriving lawn—loose, nutrient-rich soil ensures faster germination, stronger roots, and healthier plants. 🌱 By following these steps, you’ve set the stage for success, whether you’re a seasoned gardener or just starting out. The key takeaway? Patience and preparation pay off!
Now that you’re armed with the right tools and techniques, it’s time to take action.
Grab your gloves, roll up your sleeves, and get ready to watch your lawn transform. Next up: Choose the right grass seed for your climate and soil type—your green oasis is just a few steps away! 🌿