
Lawn
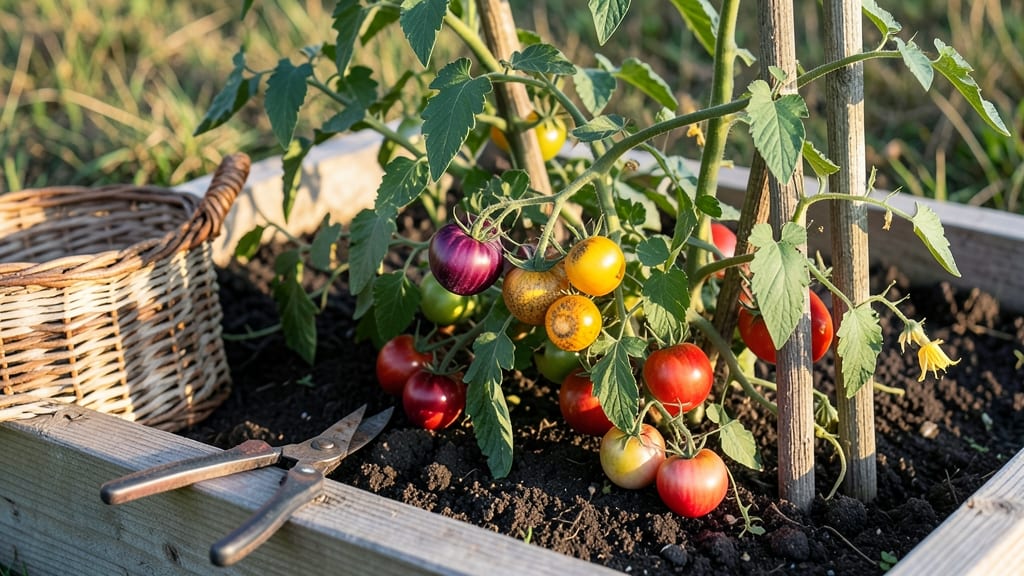
The seed savers aren’t just hobbyists—they’re guardians of biodiversity, and their work is a lifeline for future harvests. 🌱 I started seed saving after watching my heirloom tomatoes disappear from seed racks, and now I’ve got a stash of varieties that perform better in my climate than anything I’ve ever bought.
The best part? It’s free, sustainable, and keeps biodiversity alive when big companies control the seed market.
You’ll need just a few simple things: ripe produce, a dry spot, and patience. Let your best-performing plants go to seed—tomatoes, beans, and peppers are the easiest starters—and harvest the seeds once they’re fully mature. A paper bag or envelope works perfectly for drying them out before storage.
Most seeds stay viable for years if kept cool and dry, so this isn’t just a one-season trick—it’s an investment in your garden’s future.
Picture this: next spring, you’ll be planting seeds that grew in your own backyard, adapted to your soil and weather. The flavor, vigor, and reliability of homegrown seeds beat store-bought every time.
Plus, you’ll join a movement of gardeners who share seeds freely, building resilience in our food system one packet at a time.
Ready to dive in? We’ll cover which plants save best, how to tell when seeds are ready, and the best ways to store them—plus where to connect with seed-saving communities. Your garden’s legacy starts with a single seed.
📚 In This Guide
- What you need
- Instructions
- Tips and common mistakes
- Wrapping up and next steps
What you need
- ● Seeds: Start with open-pollinated (OP) or heirloom varieties (avoid hybrids like F1 seeds—they won’t reproduce true to type!). Aim for 5–10 plants per variety for reliable genetics.
- ● Growing Containers: Pots (5–10 inches deep) – 3–5 per variety for isolation.
- ● Garden beds – 6+ inches of loose, well-draining soil per plant.
- ● Soil: High-quality seed-starting mix (sterile, peat-free if possible) or compost-amended garden soil.
- ● Watering Supplies: Spray bottle (for seedlings).
- ● Watering can with a fine rose nozzle.
- ● Harvesting Tools: Pruning shears or clean, sharp scissors.
- ● Small mesh bags (for drying seeds).
- ● Drying & Storage: Paper envelopes or airtight containers (mason jars, ziplock bags).
- ○ Desiccant packets (optional, for long-term storage).
- ● Grow lights or sunny windowsill (for indoor starts).
- ● Label tags + permanent marker (to track varieties!).
- ● Humidity dome or plastic wrap (for seedlings).
- ● Seed catalogs or seed-saving guides (for variety research).
- ● Pollination aids (like a paintbrush for hand-pollinating).
How to select and save hardy seed varieties for year-round growing
Here’s how to build a resilient seed collection that thrives through seasons—no fancy equipment needed.
🌱 Step 1: Identify Hardy Varieties for Your Climate
Start by researching open-pollinated, heirloom seeds labeled as cold-hardy or drought-tolerant. Look for varieties like 'Winterbor' kale, 'Black Spanish' radishes, or 'Mammoth Melting' snow peas—they survive frost and still produce. Check your USDA hardiness zone (find yours here) to narrow down options.
I always cross-reference seed catalogs with local farmers' market vendors—they’ll point you to varieties that thrive in your area. Avoid hybrids (marked "F1"), as their seeds won’t grow true to type. Write down the names of top performers and their growing days to track maturity dates.
🌿 Step 2: Plan for Seasonal Succession
Divide your seed collection into three groups: cool-season crops (spinach, peas, lettuce), warm-season crops (tomatoes, peppers, basil), and year-round staples (garlic, onions, kale). Cool-season plants handle frost down to 20°F, while warm-season crops need soil temps above 60°F to germinate.
Schedule planting dates so each crop follows the last. For example, sow spinach in early spring, then replace it with beans when soil warms to 55°F. Use a garden journal to log when each variety matures—this helps you predict when to replant. I keep a simple spreadsheet with columns for variety, planting date, and harvest date.
⏰ Step 3: Save Seeds from Your Best Performers
Let your healthiest, most productive plants go to seed before harvesting. For example, if your 'Black Krim' tomatoes produce the juiciest fruit, leave 2-3 plants to ripen fully on the vine. Harvest seeds when the fruit is fully mature (often bright red or deep purple) and ferment them in water for 2-3 days to break down gelatinous coatings.
Spread seeds on a paper towel to dry in a dark, dry place for 1-2 weeks until brittle. Store them in labeled envelopes with the variety name and year. I add a silica gel packet to each envelope to absorb moisture—this keeps seeds viable for 3-5 years or longer. Test germination annually by planting a few seeds in soil to confirm they still sprout.
💧 Step 4: Extend the Growing Season with Simple Tricks
Use row covers (lightweight fabric) to protect cool-season crops from late frosts or early freezes. They trap heat during the day and release it at night, extending the season by 4-6 weeks. For warm-season crops, start seeds indoors 6-8 weeks before the last frost date and transplant hardened-off seedlings when soil reaches 60°F.
Mulch heavily with straw or leaves to insulate soil and retain moisture. In containers, use heat mats for early starts or cold frames for late-season harvests. I’ve grown spinach through winter in Zone 5 by covering beds with clear plastic domes—just remove them on warm days to prevent overheating.
☀️ Step 5: Rotate Crops to Prevent Disease
Group plants by family (e.g., tomatoes, peppers, eggplants) and rotate their locations each year. For example, if you grew tomatoes in Bed A last year, plant beans or peas there this year—they don’t share diseases. Keep a simple map of your garden beds and mark where each family was planted annually.
This breaks pest and disease cycles naturally. I also interplant flowers like marigolds or nasturtiums among vegetables—they repel pests and attract beneficial insects. Save seeds from these companion plants too; they’re just as hardy as the veggies!
Tips & tricks for year-round seed savings
Building a resilient seed collection takes patience and strategy—here are the game-changing tips I've learned from years of trial and error in my own garden.
Climate Intelligence: Don't just pick seeds based on pretty names—verify their cold tolerance by checking the USDA hardiness zone labels. I once planted 'Early Girl' tomatoes in Zone 5 thinking they'd survive, only to lose them to early frost. Always cross-reference with local farmers who've tested varieties in your exact conditions. That 20°F tolerance mark is real—cool-season crops like kale and radishes will actually thrive when warm-season plants would freeze!
Seasonal Timing Secret: The 6-8 week indoor starting window for warm-season crops is non-negotiable, but here's the pro move: use a heat mat to jumpstart germination when your indoor temps dip below 60°F. I've had seedlings emerge in just 5 days instead of the usual 10 when using heat mats. For cool-season crops, don't rush to plant—wait until soil temps stabilize above 55°F to avoid stunted growth from cold stress.
Seed Saving Science: That 2-3 day fermentation period for seeds is crucial for breaking down gelatinous coatings, but here's what nobody tells you: add a pinch of salt to the water. It helps prevent mold growth during fermentation. After drying, I store my seeds in glass jars with a small packet of rice instead of silica gel—it absorbs moisture just as well and I can reuse the rice for cooking later!
Garden Journal Game-Changer: Your simple spreadsheet tracking should include one more column: "Notes." I jot down observations like "this batch of peas struggled with aphids" or "the kale survived -10°F with row covers." These notes become your most valuable resource when planning next year's garden. I've discovered that my 'Winterbor' kale actually thrives when planted in late summer for fall harvest—something I never would have known without tracking!
Pro Tips for The Seed Savers
- Building a resilient seed collection takes patience and strategy—here are the game-changing tips I've learned from years of trial and error in my own garden.
- Climate Intelligence: Don't just pick seeds based on pretty names—verify their cold tolerance by checking the USDA hardiness zone labels.
- Seasonal Timing Secret: The 6-8 week indoor starting window for warm-season crops is non-negotiable, but here's the pro move: use a heat mat to jumpstart germination when your indoor temps dip below 60°F.
Frequently asked questions
What are the easiest seeds to save for beginners?
Start with heirloom varieties like tomatoes, beans, peppers, and lettuce—they’re open-pollinated, meaning they’ll “true to type” (reproduce the same plant) with minimal effort. Avoid hybrids (like many commercial tomatoes) unless labeled “open-pollinated” or “heirloom.” Pro tip: Save seeds from organic plants to reduce chemical contamination!
How long can I store saved seeds before they lose viability?
Most vegetable seeds stay viable for 1–5 years if stored properly (cool, dry, dark place in airtight containers). Test germination by planting a few seeds—if <70% sprout, it’s time to refresh your stock. Nicely stored seeds (like beans) can last decades, but moisture or heat kills them fast.
Can I save seeds from store-bought vegetables?
Only if they’re heirloom or open-pollinated—check labels or ask the seller! Hybrid seeds (e.g., most supermarket tomatoes) won’t grow true, and conventionally grown crops may carry pesticides. For survival gardens, prioritize seeds from non-GMO, organic sources or swap with local seed savers.
What’s the best way to dry seeds for long-term storage?
After harvesting, spread seeds on a paper towel in a single layer for 1–2 weeks in a warm, dry spot (like a sunny windowsill). Stir occasionally to prevent mold. Once fully dry (no moisture left), store in glass jars or Mylar bags with a desiccant packet (like silica gel).
Why did my saved seeds sprout poorly this year?
Common culprits: old seeds (test germination!), moisture damage (check storage containers), or improper drying. If seeds smell musty or look discolored, toss them. For stubborn cases, try scarification (lightly sanding hard seed coats) or a warm water soak to break dormancy.
Wrapping up and next steps
Seed saving isn’t just a skill—it’s a rewarding act of self-sufficiency that connects you to the land and future harvests. By mastering hardy varieties, you’re not only securing your garden’s future but also preserving biodiversity and reducing waste. 🌱
Ready to take the next step? Start small—save seeds from just one of your favorite hardy plants this season and watch your confidence (and seed collection!) grow. Share your progress with fellow gardeners or local seed libraries to inspire others. The more we save, the stronger our gardens—and communities—become!