How To
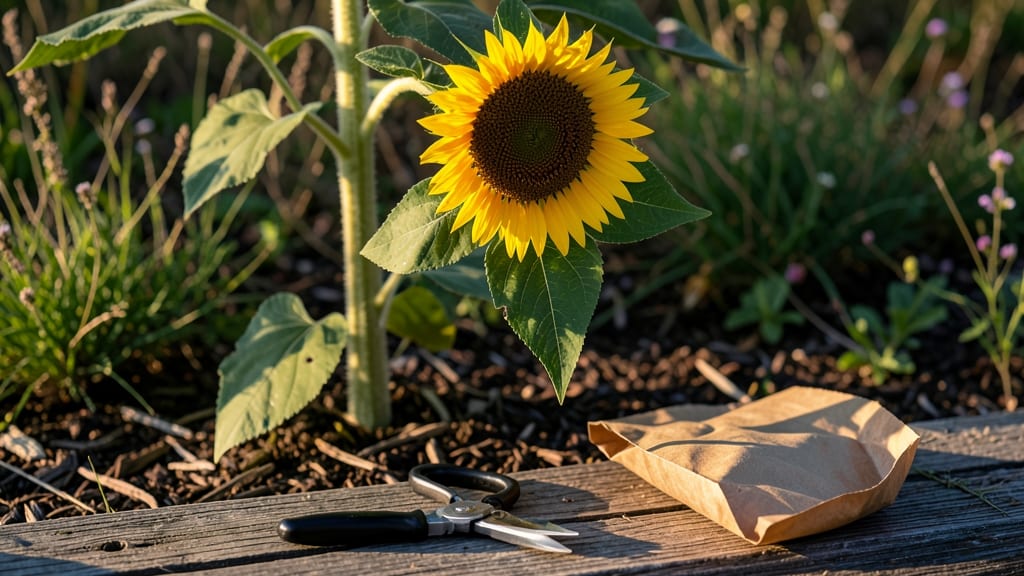
Harvesting Mexican sunflower seeds 🌻 requires knowing exactly when those seed heads are ready—because timing makes all the difference between a successful stash and wasted effort.
Mexican sunflowers aren’t just stunning additions to your garden—they’re also a fantastic source of seeds for next year’s planting, bird feeders, or even culinary uses. But timing and technique matter: harvest too early, and the seeds won’t store well; wait too long, and you’ll lose them to birds or weather.
If you’ve ever watched your seed heads turn brown only to find them stripped bare by hungry birds, you know how frustrating it can be. The key is catching them at the perfect moment—when they’re dry but still intact—so you can collect, dry, and store them properly for planting.
In this guide, I’ll walk you through when to harvest (with clear signs to watch for), how to protect your seeds from pests, and the best methods for drying and storing them—so you can enjoy a fresh batch of these vibrant blooms next spring.


When to harvest Mexican sunflower seeds: the perfect timing guide
Timing is everything when harvesting Mexican sunflower seeds. These vibrant blooms (Tithonia rotundifolia) need precise conditions to produce viable seeds that store well for next year. The window between overripe and underripe is narrow—miss it, and you risk losing your seeds to birds, weather, or poor germination.
I’ve learned the hard way that patience pays off when waiting for the perfect harvest signals.
Start by watching for visual cues like dried petals and brown seed heads. The ideal harvest time typically falls between September and October in most USDA Zone 6a regions, but adjustments are needed for earlier or later frosts.
Regional differences mean your timing might shift by 2-4 weeks depending on your climate. For example, gardeners in Zone 8b can often harvest as late as November.
Here’s what to look for: the flower petals should have completely fallen off, leaving behind a brown, papery seed head. When you gently shake the head, you should hear seeds rattling inside—a clear sign they’re ready.
If the seeds are still green or soft, they’re not mature enough. Waiting too long risks seed loss to birds or frost damage, so act quickly once these signs appear.
Another key test is the seed plumpness. Fully mature seeds should feel firm and dark when pressed between your fingers. If they’re small or shriveled, they won’t germinate well.
I like to harvest a few test seeds early in the season to check their readiness—this helps me fine-tune my timing for the rest of the plants.
Environmental cues also play a role. If your area experiences early fall frosts, prioritize harvesting before temperatures drop below 40°F (4°C). In warmer climates, you might extend harvesting into November, but always aim to collect seeds before the first hard frost.
I’ve found that morning harvests work best because dew isn’t present, reducing the risk of mold on freshly cut seed heads.
Seasonal adjustments are crucial. In northern regions, where summers are shorter, Mexican sunflowers may mature faster, and you’ll need to harvest by late September. Conversely, in southern climates, you can often wait until October or November.
Pay attention to your local last frost date and plan accordingly—this ensures you don’t miss the window.
One mistake I’ve seen gardeners make is harvesting seeds based solely on calendar dates rather than plant maturity. For example, assuming all seeds are ready by October 1st can lead to disappointment if your plants are still developing.
Instead, focus on the plant’s natural cues—this is the most reliable method for ensuring high-quality seeds.
To confirm seed readiness, perform a simple float test: drop a few seeds into a glass of water. If they sink, they’re viable and dry. If they float, they’re not fully mature and need more time on the plant.
This test takes just a minute but can save you hours of frustration later when seeds fail to germinate.
Finally, consider your regional climate variations. Coastal areas with milder winters may allow for later harvests, while inland regions with dry heat might require earlier collection to prevent seed desiccation.
I’ve even seen gardeners in desert climates harvest as early as August to avoid extreme heat drying out the seed heads too quickly.
By mastering these timing cues and adapting to your local conditions, you’ll maximize your seed yield and ensure a successful harvest every year. The key is observation and patience—two traits every gardener should cultivate alongside their plants.
Now that you know the perfect timing for harvesting, the next step is learning how to collect and store those seeds properly. A small mistake here can mean the difference between a bountiful next season and wasted effort.
For example, I once left harvested seeds in a humid garage for a week, and they sprouted mold—never again!
To avoid this, always harvest on a dry, sunny day and process seeds within 24 hours.
Lay the seed heads in a single layer on a tray lined with newspaper or paper towels, then place them in a warm, dry location (like a sunny windowsill) for 1-2 weeks to fully dry.
Once completely dry, gently rub the seed heads between your hands or use a fine-mesh screen to separate the seeds from the chaff
Step-by-step harvesting techniques for maximum seed yield
Harvesting Mexican sunflower seeds at the right time ensures high seed viability and a successful next-year planting. The key is patience—wait until the flower heads turn completely brown and brittle, usually September to October in most USDA Zone 6a regions.
If harvested too soon, seeds won’t store well; too late, and birds or weather will steal your harvest. Let’s dive into the step-by-step process to maximize your yield.
Before you begin, gather your harvesting tools: a pair of clean pruning shears, a paper bag or breathable cloth sack, and a drying tray or mesh screen. Avoid plastic bags, as they trap moisture and promote mold.
Work on a dry, sunny day to speed up the drying process. Once you’ve got your supplies ready, follow these proven techniques to collect seeds efficiently.
How to Harvest Mexican Sunflower Seeds
- Step 1: Identify Mature Seed Heads
Look for brown, dry flower heads with no green petals remaining. Gently shake the head—if seeds rattle inside, they’re ready. Avoid heads that are still green or pliable.
- Step 2: Cut the Seed Heads
Use clean pruning shears to cut the stem 3-4 inches below the seed head. Place the cuttings in your breathable bag or sack immediately to prevent seed loss.
- Step 3: Dry the Seed Heads
Spread the heads on a drying tray or mesh screen in a well-ventilated, dry area (like a garage or shed). Avoid direct sunlight, which can overheat and damage seeds. Let them dry for 1-2 weeks.
- Step 4: Remove Seeds from Heads
Once completely dry, rub the seed heads between your hands or use a paper bag to shake out the seeds. Discard any chaff or debris—only keep the plump, dark seeds.
- Step 5: Store Seeds Properly
Place seeds in a paper envelope or airtight container with a silica gel packet to absorb moisture. Label with the harvest date and store in a cool, dark place (like a fridge) for up to 2 years.
To protect your seeds from birds and squirrels, harvest in the early morning when they’re least active. If you notice wildlife interest, consider covering seed heads with fine mesh netting before they fully dry. This simple trick can save you from losing your entire harvest to hungry critters.
After harvesting, you can use your seeds for next year’s garden, bird feeders, or even culinary projects like teas or seasonings. For planting, soak seeds overnight to improve germination rates.
If storing for later, test a few seeds annually to ensure they remain viable. With these techniques, you’ll enjoy a reliable seed supply year after year.
Remember, the earlier you harvest, the better—don’t wait until the first frost hits. Mexican sunflowers thrive in warm weather, so act quickly once the seed heads turn brown. Happy harvesting! 🌻