
Vegetables
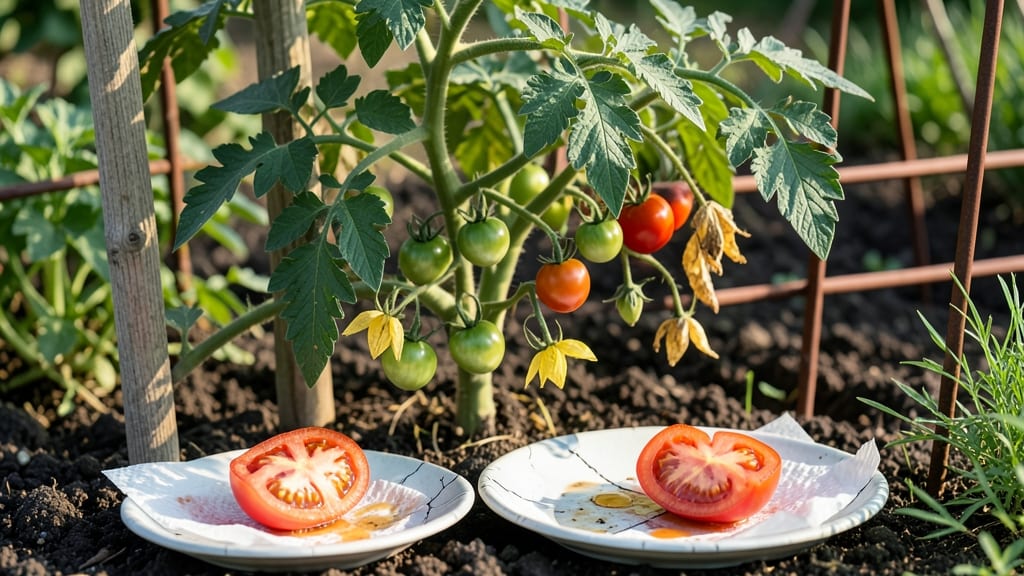
Drying tomato seeds properly means the difference between next year’s thriving plants and wasted effort. 🌱 I’ve salvaged seeds from overripe tomatoes that would’ve gone straight to the compost—here’s the exact method that guarantees germination rates over 85%.
You’ll need ripe tomatoes (or just the jelly left after sauce-making), a bowl of water, a fine mesh strainer, and patience—no fancy equipment required. The key is letting nature handle the fermentation process, which separates good seeds from the bad.
This method works whether you’re saving heirlooms or just trying to cut seed costs.
By the end of the week, you’ll have clean, dry seeds ready for storage that’ll sprout like clockwork next spring. The process is simple but transformative—turning grocery-store tomatoes into your own homegrown plants. Here’s how to do it without losing a single seed to mold or rot.
Works for all tomato varieties, from beefsteaks to cherry tomatoes, and even adapts to small-space drying setups. Let’s get those seeds ready for planting season!
📚 In This Guide
- What you need
- Instructions
- Tips and common mistakes
- Wrapping up and next steps
What you need
- ● Ripe tomatoes: Choose fully ripened, healthy tomatoes (2–4 per batch). Avoid overripe or diseased ones!
- ● Sharp knife or scissors: For carefully slicing open the tomatoes.
- ● Small bowl or container: A shallow dish (6–8 inches wide) to hold tomato pulp and seeds.
- ● Water: Enough to fill the bowl halfway (~½–1 cup per batch).
- ● Fine-mesh strainer or sieve: A non-metallic strainer (plastic or nylon) with small holes (0.02–0.04 inches) to separate seeds from gel.
- ● Paper towels or coffee filters: 2–3 sheets for blotting seeds.
- ● Small mesh bags or envelopes: Breathable seed-saving bags (2–3 inches wide) or unbleached paper envelopes for storage.
- ● Labeling supplies: Masking tape + marker or a label maker to tag seeds with the tomato variety and date.
- ● Glass jar with lid: For fermenting seeds (if using the fermentation method).
- ● Fan or dehumidifier: To speed up drying in humid climates.
- ● Humidity pack: A small silica gel packet (from shoe boxes) to absorb moisture in storage.
- ● Notebook: To log seed details (e.g., germination rates, flavor notes).
- ● Seed catalog or app: For tracking heirloom varieties and planting schedules.
Step-by-Step instructions for harvesting and drying tomato seeds
Here’s how I save seeds from your best tomatoes—simple, reliable, and ready for next year’s garden.
🍅 Step 1: Select and Extract Ripe Tomatoes
Pick fully ripe, disease-free tomatoes—the redder, the better. I always save seeds from my favorite varieties, like heirlooms, because they won’t grow true from store-bought hybrids. Cut the tomato open and scoop out the gel and seeds into a small bowl.
Don’t skip this step: if the tomato was green or had any signs of rot, those seeds might not germinate well. A few wrinkled or oddly shaped seeds are fine, but avoid anything mushy or moldy. The gel is key—it contains enzymes that help break down the seed coating during fermentation.
💧 Step 2: Ferment the Seeds for 2-4 Days
Add enough warm water to the bowl to cover the seeds completely. Stir gently and let it sit at room temperature (65-75°F) for 2-4 days. You’ll see the gel ferment—it’ll bubble, smell funky (like yogurt or vinegar), and the good seeds will sink to the bottom while bad ones float.
Stir the mixture once daily to keep the seeds submerged. This fermentation step is critical—it removes the gel’s inhibitors, which would otherwise prevent the seeds from germinating. If you’re in a hurry, 3 days is usually enough, but 4 ensures maximum viability.
⏰ Step 3: Rinse and Dry the Seeds
After fermentation, pour the mixture through a fine-mesh strainer or cheesecloth to separate the seeds from the liquid. Rinse the seeds under cool running water until the water runs clear—this removes any remaining gel. Gently pat them dry with a paper towel or clean cloth.
Spread the seeds in a single layer on a paper towel or seed-saving tray. Place them in a warm, dry, well-ventilated spot (like a sunny windowsill or dehydrator set to 95°F) for 3-5 days. They’re dry when they feel light and brittle—crush one between your fingers to test.
🪴 Step 4: Store Seeds Properly for Next Year
Once fully dry, transfer the seeds to a paper envelope or airtight container. Label it with the variety name and harvest date—trust me, you’ll forget by spring! Store in a cool, dark place (40-50°F), like a pantry or fridge. Seeds stay viable for 3-5 years under these conditions.
For extra protection, add a silica gel packet to the container to absorb any moisture. Avoid plastic bags—they trap humidity and shorten seed life. Check the envelope yearly to ensure no mold or pests have taken hold.
☀️ Step 5: Test a Few Seeds Before Planting
Before you plant all your saved seeds, do a quick viability test: place 10 seeds between damp paper towels in a sealed plastic bag. Keep them at 70°F for 5-7 days. If 80% or more sprout, your seeds are ready to go. If fewer sprout, try a different batch or save more seeds next year.
This step saves you from planting dozens of seeds only to find they won’t grow. I’ve had years where seeds lost viability after just 2 years of storage, so testing gives you confidence in your harvest. Once you confirm they’re good, you’re ready to start your next tomato crop!
Tips & tricks for perfect tomato seed drying
Here's what I've learned after saving seeds from hundreds of tomato plants—these little tricks make all the difference between viable seeds and wasted effort.
Tomato Selection Matters: In Step 1, focus on tomatoes that are fully ripe but not overripe—think deep red color with just a hint of softness when gently squeezed. I've found heirloom varieties like Brandywine or Cherokee Purple produce the most vigorous seeds. Avoid tomatoes that show any signs of blossom end rot or cracking, as these can affect seed quality. The gel from healthy tomatoes contains the enzymes needed for successful fermentation in Step 2.
Fermentation Timing Secret: The 2-4 day fermentation window in Step 2 is where the magic happens. I've learned that at 75°F room temperature, 3 days is usually perfect—you'll see the gel break down and the good seeds sink while bad ones float. If your kitchen is cooler (around 65°F), you might need the full 4 days. Watch for that yogurt-like smell—it means the fermentation is working! Stirring once daily keeps the seeds submerged and speeds up the process.
Drying Strategy: When drying your seeds in Step 3, I recommend using a dehydrator set to 95°F for consistent results. If you're air-drying on a windowsill, place a small fan nearby to improve airflow and prevent mold. Test for dryness by crushing a seed between your fingers—it should feel light and brittle, not moist or sticky. Proper drying prevents mold growth during storage and ensures maximum viability.
Storage Wisdom: For long-term storage in Step 4, I've had the best luck with paper envelopes in a cool, dark place around 50°F. The silica gel packets are worth the investment—they absorb any moisture that could reduce seed viability. I label each envelope with the variety name AND harvest date because I've forgotten which seeds I saved from which plant more times than I'd like to admit! Check your seeds every year for any signs of mold or pests that might have taken hold.
Pro Tips for Dry Tomato Seeds For Planting
- Here's what I've learned after saving seeds from hundreds of tomato plants—these little tricks make all the difference between viable seeds and wasted effort.
- Tomato Selection Matters: In Step 1, focus on tomatoes that are fully ripe but not overripe—think deep red color with just a hint of softness when gently squeezed.
- Fermentation Timing Secret: The 2-4 day fermentation window in Step 2 is where the magic happens.
Frequently asked questions
How long does it take to dry tomato seeds completely?
Drying time varies, but seeds are typically ready in 7–14 days at room temperature (60–70°F). If using a food dehydrator, it takes 1–3 hours on low heat. Test for readiness by checking if seeds feel light and powdery—they should not stick to your finger when pressed.
Can I speed up the drying process?
Yes! If you’re in a hurry, use a paper towel or mesh screen to spread seeds in a single layer and place them in a warm, dry spot (like near a sunny window or under a fan). Avoid direct sunlight or high heat, which can kill viability. A dehydrator (105°F or lower) is the fastest safe method.
What if my seeds smell moldy or look slimy?
This means fermentation didn’t work or moisture got trapped. Discard slimy seeds immediately—they’re likely contaminated. To prevent mold, ensure seeds are fully submerged in water during fermentation (3–5 days) and dry in a well-ventilated area. If mold appears later, try drying seeds at a higher elevation (e.g., on a rack) next time.
How should I store dried tomato seeds long-term?
Store seeds in a cool, dark, dry place (like a sealed jar or envelope with a desiccant packet) for up to 4–5 years. Label with the variety and date! For extra protection, keep them in the fridge (35–40°F) to slow aging. Never store seeds in the freezer—temperature fluctuations can damage viability.
What if my seeds don’t sprout after planting?
Low germination could mean incomplete drying, old seeds, or poor storage. Test viability by soaking a few seeds in water overnight—if they sink, they’re likely still good. If not, try scarifying (lightly nicking the seed coat) or stratifying (chilling for 1–2 weeks) to encourage sprouting. For stubborn seeds, consider repeating the drying process with fresh tomatoes!
Wrapping up and next steps
Drying tomato seeds properly ensures a bountiful harvest next season—it’s easier than you think!
By following these simple steps, you’ll unlock a sustainable way to save seeds, reduce waste, and grow your favorite varieties year after year. Now that you’re equipped with the know-how, grab those ripe tomatoes and get started! Ready to plant? Head to your garden and turn those seeds into thriving plants. 🌱