
Propagation
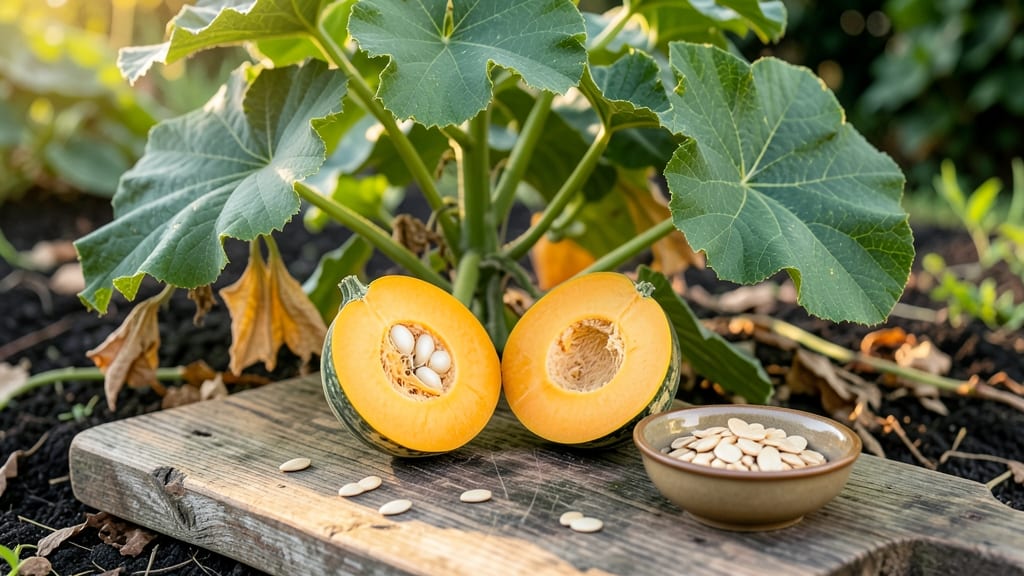
Cleaning pumpkin seeds transforms scraps into a nutty snack or planting material—no waste, just potential. 🌱 I’ve saved hundreds of seeds from Halloween jack-o’-lanterns and winter squash, turning what would be trash into crunchy treats or next year’s garden starts.
The key lies in thorough rinsing, proper drying, and storage tricks that prevent mold while preserving viability.
Start with a simple setup: a colander, warm water, and a clean towel. The pulp clings stubbornly, but a 10-minute soak loosens it enough for easy rinsing. Spread seeds on a baking sheet with ¼-inch spacing—crowding traps moisture and breeds mold.
For culinary use, roast at 300°F for 15-20 minutes until golden; for planting, let them dry completely before storage.
You’ll end up with seeds that taste like buttery popcorn or grow into sturdy vines. The roasted version keeps for 2 weeks in an airtight container, while dried seeds stay viable for planting up to 5 years if stored in a cool, dark place.
The best part? No toxic chemicals—just fresh, crunchy flavor and a head start on next season’s pumpkins.
This method works for any pumpkin variety, from giant sugar pies to tiny decorative gourds. Whether you’re snacking or saving for spring, the process is straightforward once you know the pitfalls—like overcrowding or uneven drying. Let’s get those seeds sparkling clean and ready for their next purpose.
📚 In This Guide
- What you need
- Instructions
- Tips and common mistakes
- Wrapping up and next steps
What you need
- ● Fresh pumpkin seeds: 1–2 cups (or ~150–300g), freshly scooped from a pumpkin or gourd (avoid store-bought roasted seeds—they’re often salted or pre-cooked).
- ● Pro tip: 💡 Rinse seeds immediately after scooping to remove pulp and prevent mold.
- ● Water: Enough to cover seeds in a bowl (for soaking).
- ● Baking sheet: One large, parchment-lined sheet (or two smaller ones).
- ● Oven: Preheated to 300°F (150°C) (or an air fryer at 325°F/160°C).
- ● Mixing bowl: Medium-sized for soaking and draining.
- ● Paper towels or clean kitchen towel: For drying seeds thoroughly.
- ● Mixing spoon or fork: For tossing seeds with oil and seasonings.
- ● Oil: 1–2 tablespoons (e.g., olive oil, coconut oil, or avocado oil) for extra crispiness.
- ● Seasonings: Salt (to taste)
- ● Smoked paprika, garlic powder, or cinnamon (for flavor)
- ● Maple syrup or honey (1 tsp for a sweet twist)
- ● Air fryer: Speeds up cooking (check seed fit; avoid overcrowding).
- ● Food dehydrator: For low-temp, energy-efficient drying (set to 160°F/70°C).
- ● Fine-mesh strainer: Quickly drain soaking water without a bowl.
Step-by-Step instructions for cleaning pumpkin seeds at home
Here’s the foolproof method I use every fall to turn pumpkin guts into crispy, nutty snacks.
🪴 Step 1: Extract and Rinse the Seeds
Cut your pumpkin open—save the flesh for roasting or cooking—and scoop out the stringy innards. I use a large spoon to scrape the seeds into a bowl, then rinse them under cool water to remove any clinging pulp. Rub the seeds gently between your fingers to loosen debris, then drain in a colander.
Don’t skip rinsing! Leftover pumpkin fibers make seeds sticky and gummy when roasted. If you’re working with a large pumpkin, split the seeds into batches—processing 2 cups at a time keeps things manageable.
💧 Step 2: Dry the Seeds Thoroughly
Spread the rinsed seeds in a single layer on a clean kitchen towel or paper towels. Pat them dry with another towel to remove excess moisture. For faster drying, I use a wire rack over a baking sheet—this lets air circulate underneath. Leave them uncovered for 30-60 minutes until completely dry to the touch.
Wet seeds won’t roast evenly—they’ll steam instead of crisp up. Test dryness by squeezing a handful; if water drips, let them air dry another 15 minutes. This step is critical for that perfect crunch.
✂️ Step 3: Season and Roast the Seeds
Preheat your oven to 300°F (convection if available). Toss the dry seeds with 1 tablespoon oil (avocado or olive works best) and ½ teaspoon salt. For extra flavor, add ½ teaspoon cinnamon, ¼ teaspoon smoked paprika, or a pinch of garlic powder. Spread seeds in a single layer on a baking sheet lined with parchment paper.
Roast for 20-25 minutes, stirring every 5-7 minutes to prevent burning. They’re done when golden and crispy—no soft spots! Let them cool for 5 minutes before eating; they’ll crisp up further as they cool.
🌿 Step 4: Store for Freshness
Transfer cooled seeds to an airtight container. I like glass jars with tight lids—they keep seeds crunchy for up to 2 weeks at room temperature. For longer storage, freeze them in a sealed bag; they’ll stay fresh for 3 months without losing texture.
Don’t store seeds in plastic bags—they’ll sweat and become soggy. If you notice any seeds softening after a few days, return them to the oven at 250°F for 5 minutes to restore crispness.
Tips & tricks for perfect pumpkin seed prep
Real talk: These little details make the difference between bland, soggy seeds and restaurant-quality crunch.
Rinsing Right: In Step 1, don't just dunk those seeds in water—give them a good scrub between your fingers. Leftover pumpkin fibers (even after rinsing) turn into sticky gummy messes when roasted. I learned this the hard way after making a batch that stuck together like glue. For large batches, split into 2-cup portions—this keeps the rinsing process efficient and prevents overflow.
Drying is Everything: The 30-60 minute drying window in Step 2 is non-negotiable for crispy seeds. Here's my secret: Use two wire racks—place one on top of another with a baking sheet in between. This creates airflow from both sides, cutting drying time by nearly half. Test dryness by squeezing a handful—if water drips, you're not ready yet. Trust me on this, wet seeds steam instead of crisp up.
Roasting Like a Pro: When you're roasting at 300°F for 20-25 minutes, set a timer for every 5-7 minutes to stir. This prevents hot spots and burning while ensuring even browning. The seeds are done when they're golden and make a crisp sound when shaken in the pan. Let them cool for those 5 minutes—they'll crisp up even more as they sit, and that's when they're at their absolute best.
Pro Tips for Clean Pumpkin Seeds
- Real talk: These little details make the difference between bland, soggy seeds and restaurant-quality crunch.
- Rinsing Right: In Step 1, don't just dunk those seeds in water—give them a good scrub between your fingers.
- Drying is Everything: The 30-60 minute drying window in Step 2 is non-negotiable for crispy seeds.
Frequently asked questions
Got questions about cleaning pumpkin seeds? You’re not alone! Here are some common queries—plus straightforward answers—to help you get the most out of your seed-cleaning adventure.
How long do I need to soak pumpkin seeds before cleaning them?
Soaking pumpkin seeds for 12–24 hours helps loosen the flesh and makes rinsing easier. If you’re short on time, a 2–3 hour soak in warm water can work, but you may need to scrub a bit harder. Pro tip: Use a large bowl and enough water to cover the seeds completely for best results!
Can I use pumpkin seeds from a store-bought pumpkin?
Store-bought pumpkins (like carving pumpkins or sugar pumpkins) are perfect for cleaning. Just avoid seeds from canned pumpkin—they’re often pre-cooked or treated with preservatives. For the freshest, most nutritious seeds, opt for organic or locally grown pumpkins when possible.
Why do my clean pumpkin seeds still smell like pumpkin?
A faint pumpkin scent is normal, especially if the seeds weren’t fully dried or soaked. To reduce the odor, rinse them thoroughly after soaking and pat them dry with a clean towel. For extra freshness, roast them at a higher temp (300°F+) to burn off any lingering aromas.
What’s the best way to dry pumpkin seeds quickly?
Spread seeds in a single layer on a baking sheet or paper towel, then let them air-dry for 4–6 hours in a warm, dry place (like near a sunny window). For faster drying, use a low oven (200°F for 10–15 minutes) or a food dehydrator. Avoid high heat—it can make them brittle!
What should I do if my pumpkin seeds turn moldy?
Moldy seeds happen if they’re not dried properly or stored in damp conditions. If you spot fuzz, discoloration, or a sour smell, discard them immediately—mold can be harmful. To prevent mold, store seeds in an airtight container in a cool, dark place (or the fridge for long-term storage).
Are there alternatives to roasting pumpkin seeds?
Yes! Besides roasting, you can:
- Air-fry them (350°F for 8–10 minutes) for a crispy texture with less oil.
- Steam them (10–15 minutes) for a lighter, less greasy snack.
- Blend into flour (dry-roast first) for baking or protein boosts.
Wrapping up and next steps
Ready to enjoy the crunchy, nutty goodness of clean pumpkin seeds without the hassle? By following these simple steps, you’ve unlocked a non-toxic, nutrient-packed snack that’s perfect for munching, baking, or sharing.
Whether you’re prepping for propagation or just craving a healthier treat, your freshly cleaned seeds are now ready to shine! 🌟
Your next step? Experiment with flavors—try a sprinkle of cinnamon, a dash of sea salt, or even a drizzle of honey for a gourmet twist. Store them in an airtight container and savor the satisfaction of a homemade, toxin-free snack anytime!