Planting
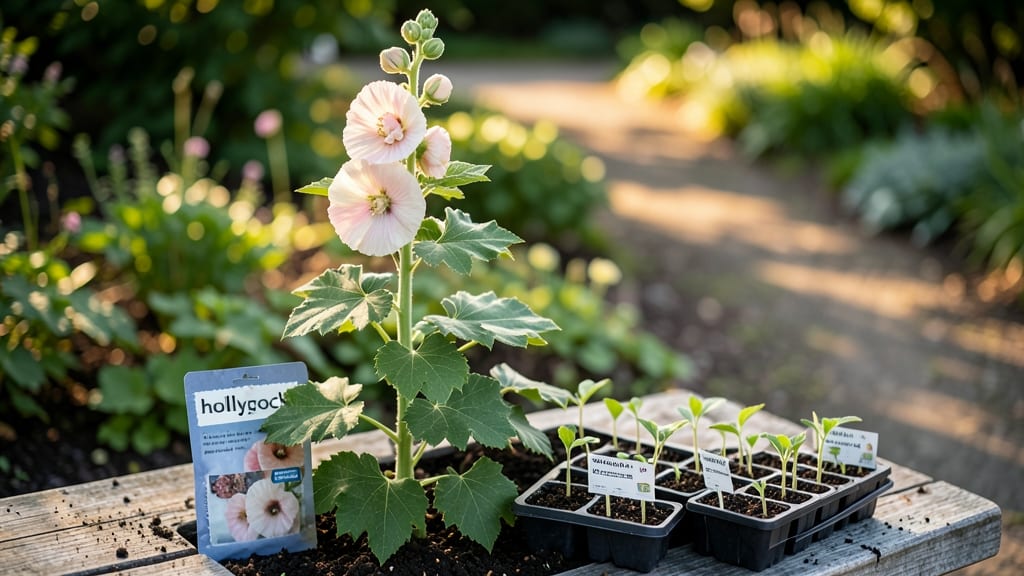
Sowing hollyhock seeds with a layered chill trick guarantees those towering, cottage-garden blooms you’ve always wanted. 🌱 I learned the hard way that skipping this step means puny stems and half-sized flowers—until I discovered how a simple cold treatment transforms weak seedlings into sturdy giants.
The secret isn’t complicated: you’ll need a flat tray, damp paper towels, and your freezer for about 4 weeks of stratification. Hollyhocks thrive when they experience winter’s chill before spring planting, mimicking their natural cycle. Most beginners overlook this, but it’s what turns floppy seedlings into 6-foot powerhouses by summer.
Once chilled, sow seeds just ¼ inch deep in well-draining soil, spacing them 12-18 inches apart. They’ll germinate in 10-21 days, and you’ll watch those velvety leaves unfurl into bold, ruffled blooms by early summer. The payoff? Flowers that last from June until frost—with minimal fuss.
This method works for both direct sowing in spring and starting indoors for earlier blooms. Just remember: patience is key. The chill trick might feel like waiting forever, but trust the process—your garden’s vertical drama will thank you.
📚 In This Guide
- What you need
- Instructions
- Tips and common mistakes
- Wrapping up and next steps
What you need
- ● Hollyhock seeds: Choose heirloom or hybrid varieties (e.g., ‘Black Night,’ ‘Peach Blush,’ or ‘Chater’s Double’). Buy 1-2 seed packets (each contains ~50-100 seeds).
- ● Seed-starting mix: 2-3 gallons of sterile, well-draining potting soil (avoid garden soil—it’s too dense!).
- ● Containers: Seed trays with drainage holes (for indoor starts) or biodegradable peat pots (1-2 inches deep).
- ● OR small pots (3-4 inches wide) if starting indoors.
- ● Grow lights or sunny windowsill: A full-spectrum LED grow light (12-16 hours/day) or a south-facing window (if starting indoors).
- ● Misting spray bottle: For gentle watering (avoid oversaturating seeds!).
- ○ Plastic wrap or humidity dome: To create a mini greenhouse effect (optional but helpful for germination).
- ● Fertilizer: A balanced liquid fertilizer (5-10-5 or 10-10-10) diluted to half-strength for seedlings.
- ● Garden bed or large containers: Hollyhocks thrive in full sun (6+ hours/day) and need 12-18 inches of space between plants.
- ● Compost or aged manure: Mix 1-2 cups per square foot into soil for nutrients.
- ● Stakes or trellis: Tall varieties (4-6 feet) may need support—install 3-4 foot stakes at planting.
- ○ Mulch: 2-3 inches of straw or shredded leaves to retain moisture (optional but recommended).
- ● 🌡️ Soil temp: Hollyhock seeds germinate best in 60-70°F soil. Use a seedling heat mat if starting early indoors.
- ● ✨ Hardening off: Acclimate seedlings to outdoor temps 7-10 days before transplanting.
- ● 🚫 Avoid overcrowding: Thin seedlings to 12-18 inches apart once they’re 3-4 inches tall.
How to sow hollyhock seeds using the layered chill method
This foolproof technique mimics natural winter conditions to break dormancy and ensure robust germination.
🌱 Step 1: Stratify Seeds for 6-8 Weeks Before Sowing
Hollyhock seeds need a layered chill treatment to simulate winter stratification. Place the seeds between two layers of damp paper towels in a sealed plastic bag. Store them in your refrigerator's crisper drawer where temperatures stay around 35-40°F. Check weekly—if the towels dry out, mist them lightly but avoid soaking.
This cold period tricks the seeds into thinking winter has passed, breaking their dormancy. After 6-8 weeks, you'll see tiny cracks or roots emerging—this is your signal they're ready. If seeds remain dry or unchanged, extend the stratification another week. I've found this step critical; seeds sown without stratification often rot or fail to sprout.
💧 Step 2: Prepare Containers and Planting Mix
Fill 4-inch deep containers with a sterile seed-starting mix—never garden soil, which can harbor fungal diseases. Moisten the mix until it feels like a damp sponge: squeeze it gently, and it should hold together without dripping. I like to press the soil down lightly to remove air pockets, then tap the container once to settle everything evenly.
Hollyhocks thrive in well-draining soil, so mix in 10% perlite to prevent waterlogging. Use the 4 packets of seeds you've stratified, spacing them 1 inch apart in rows. Press each seed ½ inch deep—too shallow and they may dry out; too deep and they’ll struggle to reach the surface. Label your containers with the date and variety if you're growing multiple types.
☀️ Step 3: Sow and Maintain Moisture Until Germination
After planting, water gently with a spray bottle until the soil surface looks evenly moist but not soggy. Place the containers in a warm, bright location (around 65-70°F) with indirect light—direct sun can overheat the soil. Cover the containers loosely with clear plastic wrap to retain humidity, but remove it daily for 10 minutes to prevent mold.
Germination typically occurs in 10-20 days, but patience is key. You'll notice tiny green shoots first—these are the cotyledons, not true leaves. Once they appear, move the containers to a sunny windowsill or under grow lights for 12-14 hours daily. Avoid overwatering now; the soil should stay consistently moist but never waterlogged. If the surface dries out, water lightly at the base.
✂️ Step 4: Thin Seedlings and Harden Off
When seedlings reach 2-3 inches tall and have 2-3 sets of true leaves, it's time to thin. Use scissors to snip the weakest seedlings at soil level, leaving the strongest 6 inches apart. This prevents overcrowding and ensures each plant gets enough nutrients. Hollyhocks grow tall and sturdy, so thinning early is crucial for their development.
Two weeks before your last frost date, begin hardening off the seedlings. Place them outside in a sheltered spot for 1 hour the first day, gradually increasing exposure over 10-14 days. Watch for wilting or yellowing leaves—these are signs they're not ready. Once they tolerate full sun and wind without stress, they're ready for the garden. Plant them in well-draining soil with full sun exposure for the boldest blooms.
Tips & tricks for perfect hollyhock germination
Mastering this layered chill method transforms those stubborn hollyhock seeds into vibrant spring blooms—here's how to optimize every step.
Temperature Precision in Step 1: The 35-40°F range in your refrigerator's crisper drawer is non-negotiable for proper stratification. Use a thermometer to confirm—some fridges run cooler in the bottom drawer. If your seeds aren't showing root cracks after 6-8 weeks, extend by another week rather than skipping this critical dormancy-breaking phase. I've seen seeds fail to sprout when kept at warmer temperatures (like 50°F), where they remain dormant.
Soil Science in Step 2: That 10% perlite isn't just for drainage—it creates tiny air pockets that prevent fungal issues hollyhocks are prone to. For the 4-inch containers, use clear plastic ones so you can monitor root development without disturbing the soil. Pro tip: After pressing seeds ½ inch deep, gently firm the soil around them with your finger to ensure good seed-to-soil contact without compacting.
Germination Timing in Step 3: The 10-20 day window can feel like an eternity, but those cotyledons will emerge when they're ready. Place a small fan on low near your containers during the day to create gentle airflow—this mimics natural conditions and helps prevent damping-off disease. Once you see those first green shoots, remove the plastic wrap completely to prevent mold growth that can smother seedlings.
Harden Off Gradually in Step 4: That initial 1 hour outside on day one might seem too short, but it's crucial. Hollyhocks are sensitive to temperature fluctuations, so increase exposure by 30 minutes daily rather than doubling time. Watch for leaves that perk up after 10 minutes of sunlight—this indicates they're ready for more. I've lost seedlings to sudden frost because they weren't properly hardened off over the full 10-14 days.
Pro Tips for Sowing Hollyhock Seeds
- Mastering this layered chill method transforms those stubborn hollyhock seeds into vibrant spring blooms—here's how to optimize every step.
- Temperature Precision in Step 1: The 35-40°F range in your refrigerator's crisper drawer is non-negotiable for proper stratification.
- Soil Science in Step 2: That 10% perlite isn't just for drainage—it creates tiny air pockets that prevent fungal issues hollyhocks are prone to.
Frequently asked questions
Got questions about sowing hollyhock seeds? You’re not alone—these striking blooms can be tricky for beginners! Here are answers to the most common queries to help you grow a thriving garden.
When is the best time to sow hollyhock seeds?
Hollyhocks thrive with a layered chill method: start seeds indoors 8–10 weeks before your last frost (or in early spring). For direct sowing, wait until after the last frost when soil is at least 50°F (10°C). They’re frost-tolerant but need consistent warmth to germinate.
Why do hollyhock seeds need cold treatment?
Their dormancy requirement mimics winter—seeds need 4–6 weeks of cold stratification (like a fridge) to break dormancy. Skip this, and germination rates drop dramatically. Pro tip: Mix seeds with damp sand in a sealed bag and refrigerate before planting!
Can I grow hollyhocks from store-bought seeds?
Yes! Store-bought seeds work, but check the variety—some hybrids (like ‘Black Prince’) may not grow true from seed. For heirloom colors (e.g., ‘Peach Blow’), save seeds from your plants. Note: Hollyhocks self-seed easily, so you might get surprises next year!
Why aren’t my hollyhock seeds sprouting?
Common culprits:
- Too warm: Keep soil 60–70°F (15–21°C) for germination.
- Poor moisture: Seeds need consistent dampness (not soggy). Use a humidity dome or plastic wrap.
- Old seeds: Hollyhock seeds lose viability after 2–3 years.
How do I prevent hollyhocks from flopping over?
Hollyhocks are tall but top-heavy! Stake them early (use soft ties to avoid stem damage) or plant in groups for wind support. For dwarf varieties (like ‘Lady in Black’), choose sheltered spots away from strong breezes.
Wrapping up and next steps
Sowing hollyhock seeds is a rewarding way to add drama and height to your garden—especially with the layered chill trick to boost germination! Remember, patience and proper prep (like scarifying seeds and keeping them cool) are key to those showstopping blooms you’re dreaming of. 🌱
Now that you’re armed with tips, grab those seedsg and get planting! Once your hollyhocks sprout, stay tuned for care tips to help them thrive into bold, sun-loving giants. Happy gardening—your future flowerbeds will thank you! 🌸