Propagation
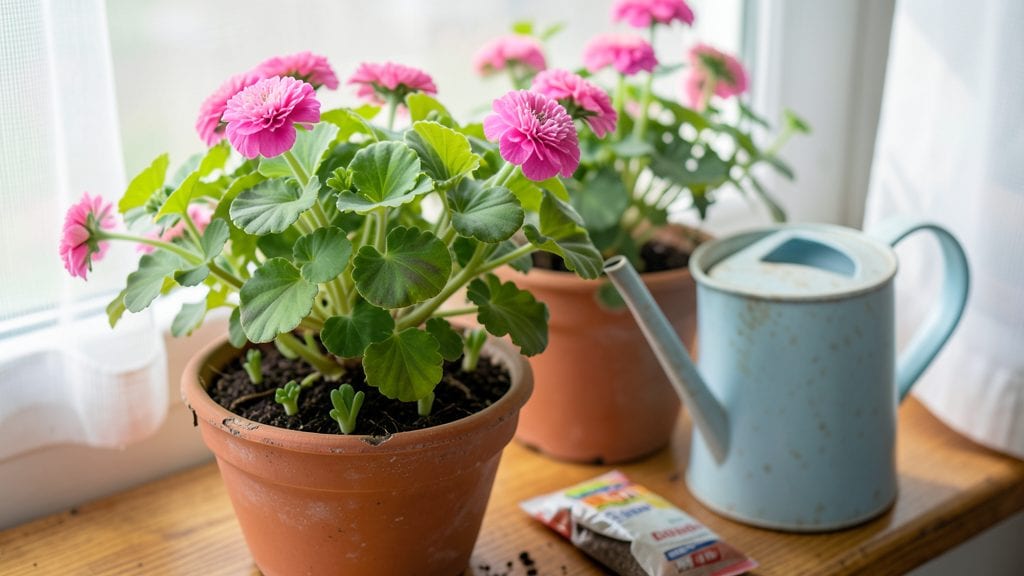
Growing pelargoniums from seed with cold stratification cuts weeks off your wait for fragrant blooms. 🌱 I learned the hard way that skipping this step means waiting months for germination instead of just a few weeks—now my seedlings pop up reliably every season.
The secret isn't complicated: a simple fridge trick mimics winter's natural signal for seeds to wake up.
You'll need basic supplies: pelargonium seeds, a shallow tray with drainage holes, moistened seed-starting mix, and a plastic bag or lid to create humidity. The cold stratification part requires just a paper towel, a ziplock bag, and your fridge's vegetable drawer for about 2 weeks.
Most beginners overlook how sensitive these seeds are to moisture and temperature—too dry, they won't germinate; too warm, they rot.
Within 10-14 days after stratification, you'll see tiny green sprouts pushing through the soil. These early seedlings need bright indirect light and bottom-watering to prevent damping-off. By week 6, you'll have sturdy plants ready for transplanting—each one packed with that signature pelargonium fragrance and blooming potential.
This method works for all pelargonium varieties, whether you're growing for their sweet scent, colorful blooms, or both. The same principles apply whether you're starting in winter or early spring. Here's exactly how to do it without losing a single seed to mold or slow starts.
📚 In This Guide
- What you need
- Instructions
- Tips and common mistakes
- Wrapping up and next steps
What you need
- ● Pelargonium seeds: Fresh or stored seeds (preferably from a trusted supplier for best results). Quantity: 5–10 seeds per container (or more if experimenting).
- ● Seed-starting mix: Lightweight, well-draining potting mix (avoid garden soil—it’s too dense!). Specs: 1 part perlite or vermiculite to 3 parts peat or coco coir.
- ● Small containers: Seed trays, peat pots, or even repurposed egg cartons with drainage holes. Size: 2–3 inches deep.
- ● Plastic bags or domes: To create a humid microclimate during stratification. Tip: Use clear bags to monitor moisture.
- ● Refrigerator or cold frame: For stratification (35–45°F / 2–7°C) for 2–4 weeks. Alternative: A cool basement or garage.
- ● Spray bottle: For gentle watering (avoid soaking the mix!).
- ● Grow lights or sunny windowsill: Bright, indirect light (12–16 hours/day) post-stratification.
- ● Heat mat: Speeds up germination after stratification (70–75°F / 21–24°C ideal).
- ● Humidity tray: A shallow tray with pebbles and water to boost moisture levels.
- ● Fertilizer (diluted): A balanced liquid fertilizer (e.g., 5-5-5) after true leaves appear.
- ● Labeling tags: To track seed varieties and planting dates.
- ● Fine-mesh screen: Covers soil surface to deter pests during germination.
Step-by-Step instructions for growing pelargonium from seed
Cold stratification unlocks pelargonium seeds' potential—here's how to break dormancy and coax fast, fragrant blooms.
🌱 Step 1: Prepare Seeds with Cold Stratification
Pelargonium seeds need 4-6 weeks of cold treatment to break dormancy. Moisten a paper towel with lukewarm water, then wrap it around the seeds in a single layer. Place the wrapped seeds inside a resealable plastic bag and seal tightly to retain moisture. Store the bag in your refrigerator's vegetable crisper where temperatures hold steady at 35-40°F.
Check weekly—if the paper towel dries out, mist it lightly with water. You'll see nothing dramatic yet, but this period is critical. Skipping stratification results in slow, uneven germination or seeds that never sprout. Patience here pays off with stronger, more vigorous seedlings later.
🪴 Step 2: Sow Stratified Seeds in Moistened Mix
After 4-6 weeks, remove the seeds from cold storage and plant them ¼ inch deep in a 4-inch seed tray filled with sterile seed-starting mix. I use a 1-gallon container of potting mix for this step—moisten it until damp but not soggy. Press the soil surface lightly to create a firm planting bed, then make small indentations with your finger.
Place 2-3 seeds per indentation—pelargoniums germinate unpredictably, and thinning later prevents root disturbance. Gently cover with a fine layer of mix, then mist the surface with water until evenly damp. Avoid heavy watering; you want the soil to stay consistently moist without becoming waterlogged.
☀️ Step 3: Provide Warmth and Light for Germination
Transfer the tray to a warm location (ideally 70-75°F) where it receives bright, indirect light. A grow light on a 12-hour cycle works best—pelargonium seeds need warmth to germinate, but direct sun at this stage can scorch tender seedlings. Place the light 2-3 inches above the tray and adjust as sprouts emerge.
Germination typically takes 10-21 days, but some seeds may take longer. Keep the soil surface damp by misting every 2-3 days—never let it dry out completely. Once 50% of seeds sprout, remove the grow light for 4 hours daily to harden seedlings gradually. This prevents shock when they later transition to full light.
🌿 Step 4: Thin and Transplant Seedlings
When seedlings develop 2-3 true leaves (about 4-6 weeks after sowing), thin to the strongest plant per cell. Use small scissors to snip unwanted seedlings at soil level—pulling risks damaging roots. Transplant the remaining seedlings into 4-inch pots filled with 1 gallon of potting mix each, burying them to the same depth they sat in the tray.
Water deeply after transplanting, then place pots in a sunny windowsill or under full-spectrum grow lights for 14-16 hours daily. Pelargoniums thrive in bright light, but avoid direct midday sun until they acclimate—you'll see leggy growth if light is insufficient. Rotate pots quarter-turn weekly to ensure even growth.
✂️ Step 5: Encourage Fast, Fragrant Blooms
Pinch back the top set of leaves when seedlings reach 4-6 inches tall to promote bushiness. This redirects energy from vertical growth to lateral branching, which supports more blooms. Fertilize with a balanced liquid fertilizer (10-10-10) diluted to half-strength every 2 weeks once seedlings show new growth. Over-fertilizing at this stage burns delicate roots.
Watch for buds forming after 8-10 weeks—pelargoniums bloom fastest under cool nights (55-60°F) and warm days (70-75°F). Deadhead spent blooms immediately to encourage continuous flowering. If grown indoors, supplement with a 12-hour night interruption light (like a small LED bulb) to prevent dormancy and extend the blooming season.
Tips & tricks for perfect pelargonium germination
Here's what nobody tells you about breaking pelargonium seeds' dormancy—and how to speed up those fragrant blooms without the guesswork.
Cold Stratification Secret: The refrigerator's vegetable crisper maintains a steady 35-40°F range, but if your fridge runs cooler, consider a dedicated seed stratification fridge or a cooler with an ice pack. I've seen seeds fail to germinate when stored in the main fridge compartment where temps can drop below 35°F. Consistency is key—fluctuations prevent the biochemical processes that break dormancy.
Timing Tip for Step 1: Mark your calendar when you start the 4-6 week cold treatment. I use a small sticky note on the fridge door to track progress. The first 2 weeks show no visible changes, but after week 3, you'll notice the paper towel starts to develop faint root hairs—this is your signal that stratification is working. Don't rush this process; pelargonium seeds need the full time to develop the energy reserves they'll need for germination.
Light Strategy for Step 3: When setting up your 12-hour grow light cycle, position the light so it casts a soft shadow on the seedlings when they reach 1-2 inches tall. This shadow indicates you're maintaining the proper 2-3 inch distance—any closer risks scorching, while any farther means insufficient intensity. I use a simple ruler to measure and adjust weekly as seedlings grow. For the first 10-21 days of germination, this careful light management prevents the "leggy" seedlings that result from inconsistent lighting.
Transplanting Hack for Step 4: After thinning to the strongest seedling per cell, I recommend using a sterile toothpick to gently separate seedlings rather than fingers. The oils on our skin can introduce pathogens to the fresh cuts. When transplanting to 4-inch pots, create a small trench in the potting mix and slide the seedling in—this prevents the delicate roots from bending during the move. Water immediately after transplanting to help settle the soil around the roots and reduce transplant shock.
Pro Tips for Pelargonium From Seed
- Here's what nobody tells you about breaking pelargonium seeds' dormancy—and how to speed up those fragrant blooms without the guesswork.
- Cold Stratification Secret: The refrigerator's vegetable crisper maintains a steady 35-40°F range, but if your fridge runs cooler, consider a dedicated seed stratification fridge or a cooler with an ice pack.
- Timing Tip for Step 1: Mark your calendar when you start the 4-6 week cold treatment.
Frequently asked questions
Got questions about growing pelargonium from seed? You’re not alone! Here are some of the most common concerns—plus quick, actionable answers to get you blooming faster.
How long does it take for pelargonium seeds to germinate?
With proper cold stratification (4–6 weeks in the fridge), most pelargonium seeds sprout in 7–21 days after returning to warmth. Keep soil moist but not soggy—germination speeds up in consistent 70–75°F (21–24°C) conditions. Patience pays off!
Do I really need cold stratification for pelargonium seeds?
Yes! Cold stratification mimics winter dormancy, breaking seed dormancy and boosting germination rates. Skip it, and you might wait months—or never see sprouts. Pro tip: Mix seeds with damp sand in a sealed bag for easier fridge storage.
What if my pelargonium seedlings look leggy or weak?
Leggy seedlings = not enough light. Move them within 3 inches of a grow light (14–16 hours/day) or a sunny south-facing window. Overcrowding? Thin to 1 inch apart to prevent competition. Yellow leaves? Check for overwatering—pelargoniums hate soggy roots!
Can I grow pelargonium from seed indoors year-round?
Start seeds indoors 8–10 weeks before your last frost for spring blooms. Use a heating mat (70–75°F) to speed germination, then transplant outdoors after danger of frost. For winter blooms, grow under grow lights—just ensure 6+ hours of light daily.
What’s the best alternative if my seeds won’t germinate?
Try these backups:
- Cutting propagation: Snip healthy stems (4–6 inches), dip in rooting hormone, and plant in moist perlite.
- Buy established plants: Nursery starts bloom faster (but lose the fun of growing from seed!).
- Check seed viability: Soak seeds in water—floaters are likely dead.
Wrapping up and next steps
Growing pelargonium from seed is a rewarding journey that unlocks vibrant blooms and intoxicating fragrances with just a little patience and care. Cold stratification isn’t just a trick—it’s the secret to breaking dormancy and giving your seeds the best shot at thriving.
Whether you’re a seasoned gardener or a curious beginner, your efforts will soon be rewarded with lush, fragrant plants that bring joy to your space.
Now that you’re armed with the blueprint, it’s time to roll up your sleeves and plant those seeds! Start small—pick one variety to experiment with—and soon, you’ll be sharing your success (and maybe even swapping seeds) with fellow plant lovers. Happy growing! 🌱✨