How To
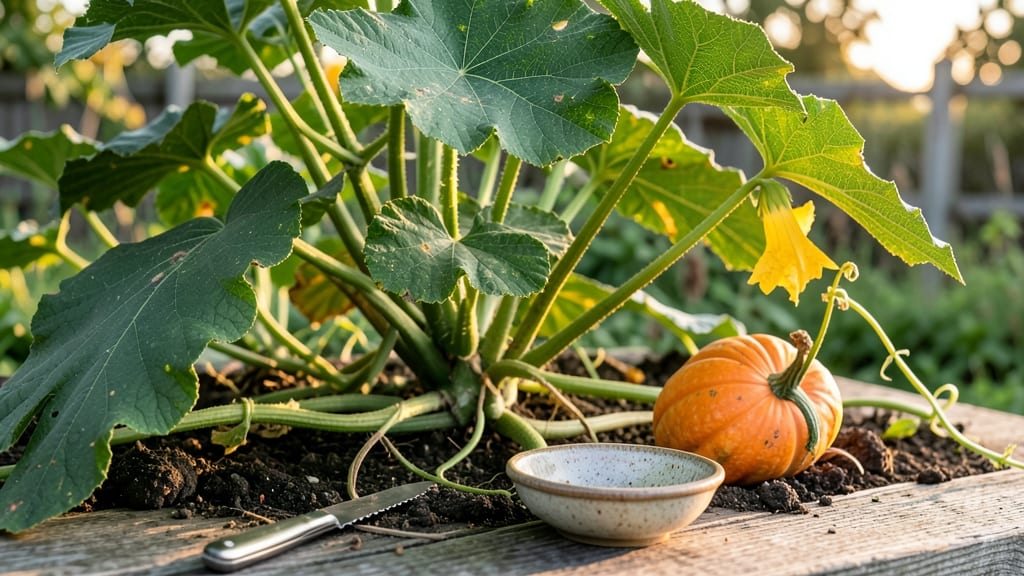
Harvesting pumpkin seeds from a ripe 🎃 is the secret to turning your garden bounty into a crunchy, savory snack—without wasting a single seed.
Picture this: you’ve spent months nurturing your pumpkins, and now the harvest is here. But if you scoop out those seeds too soon, you’ll end up with bitter, unusable pulp.
The key? Wait until the pumpkin is fully mature, then extract the seeds at the right moment for maximum flavor and yield.
This isn’t just about saving seeds—it’s about unlocking their full potential. Whether you’re roasting them for a snack or saving them for next year’s garden, proper timing and technique make all the difference.
Below, I’ll walk you through the exact steps to clean, dry, and store your pumpkin seeds so they stay fresh and flavorful for months. No more wasted harvests—just pure, delicious results.

When and how to extract pumpkin seeds from ripe pumpkins
Extracting pumpkin seeds at the right time ensures maximum yield and flavor. The best window is 3 to 5 days after harvest, when the pumpkin's flesh begins to soften naturally. This delay prevents premature mold while making seeds easier to separate from the pulp.
If you harvest seeds too early, they’ll be underdeveloped; too late, and the seeds may sprout or rot inside the pumpkin.
Before diving in, gather your tools: a sharp knife, a large bowl for pulp, and a colander for rinsing. Work in a clean, dry space—like a garage or kitchen counter—to avoid contamination.
The goal is to extract seeds without breaking them, so handle the pumpkin gently. Start by cutting it open along the stem end, creating a 2-inch opening to access the cavity.
How to Extract Pumpkin Seeds
- Step 1: Cut Open the Pumpkin
Use a sterilized knife to slice the pumpkin in half horizontally. Remove the top 2-inch section to expose the seed cavity. This minimizes mess and makes scooping easier.
- Step 2: Scoop Out the Seeds and Pulp
Grab a spoon or ice cream scoop to carefully remove the seed mass. Avoid pressing too hard—this protects seed integrity. Place the pulp and seeds directly into a large bowl for separation.
- Step 3: Separate Seeds from Pulp
Rinse the pulp and seeds under cool running water to loosen the stringy fibers. Use your fingers to rub and separate seeds from the pulp. Discard any seeds that feel soft or shriveled.
- Step 4: Rinse and Inspect
Transfer seeds to a fine-mesh colander and rinse thoroughly. Check for damaged or hollow seeds—these won’t store well. Discard any seeds with cracks or discoloration.
- Step 5: Dry the Seeds
Spread seeds in a single layer on a paper towel or baking sheet. Let them air-dry in a warm, dry place (like a sunny windowsill) for 24–48 hours
Timing is critical for seed quality. If you extract seeds immediately after harvest, the pulp will be too sticky, making separation difficult. Waiting 3–5 days allows the flesh to soften, so seeds slide out cleanly.
For large pumpkins, like sugar pumpkins or giant varieties, use a spoon with a deep well to avoid breaking seeds against the pumpkin’s ribs.
Pro tip: Save a few seeds for next year’s planting by storing them in a paper envelope in a cool, dark place. Label the envelope with the pumpkin variety and harvest date. For roasting, ensure seeds are completely dry—moisture leads to moldy batches and ruined snacks.
After drying, you’ll have crisp, flavorful seeds ready for roasting or saving. For roasting, toss seeds with 1 tablespoon of oil and ½ teaspoon of salt per cup, then bake at 300°F (150°C) for 20–25 minutes.
Store dried seeds in an airtight container in the fridge for up to 3 months or freeze for 6+ months.
If you’re saving seeds for planting, ensure they’re completely dry and hard before storing. Planting wet seeds risks fungal growth, which can kill seedlings. For long-term storage, place seeds in a sealed jar with silica gel packets to absorb excess moisture.
Remember, the key to success is patience and cleanliness. A little extra time waiting for the pumpkin to soften pays off with higher-quality seeds and fewer spoilage issues. Happy harvesting!
Best methods to clean and dry pumpkin seeds for perfect storage
Once you've extracted those golden pumpkin seeds, the real work begins—proper cleaning and drying ensures they stay fresh and flavorful for months. Skipping this step risks moldy seeds or bitter flavors, so let's dive into the best techniques to preserve your harvest like a pro.
Whether you plan to roast them for a snack or save them for next year's garden, these methods will keep your seeds in top condition.
After scooping seeds from the pumpkin, you'll need to separate them from the stringy pulp and fibrous strands. The key is a thorough rinse followed by proper drying—neither step should be rushed.
Wet seeds left in a damp environment will spoil quickly, while seeds dried too quickly can lose their nutritional value and flavor. Let’s break down the process to get it right every time.
How to Clean Pumpkin Seeds
| Method | Pros | Cons |
|---|---|---|
| Rinse Under Cool Water | Removes all pulp residue and debris effectively | Can leave seeds damp if not dried properly |
| Soak in Saltwater (1 tsp salt per cup of water) | Kills mold spores and loosens fibers for easier removal | Requires extra rinsing to remove salt residue |
| Pat Dry with Paper Towels | Removes excess moisture quickly | May not remove all hidden moisture without further drying |
| Spread on Baking Sheets (Single Layer) | Allows even air circulation for faster drying | Requires constant monitoring to prevent burning in sun |
Drying Pumpkin Seeds
| Method | Pros | Cons |
|---|---|---|
| Sun-Drying (2-3 Days) | Natural process preserves flavor and nutrition | Dependent on weather conditions (rain can ruin seeds) |
| Oven-Drying (1-2 Hours at 170°F) | Faster and consistent drying method | Risk of overheating if left unattended |
| Dehydrator (4-6 Hours at 135°F) | Precise temperature control for even drying | Requires additional equipment |
For sun-drying, choose a spot with full sun exposure and good airflow, like a clean patio or balcony. Stir the seeds every hour to ensure even drying.
If you're in a humid climate, opt for the oven or dehydrator instead—these methods give you full control over the drying time and prevent mold from forming. Aim for seeds that are completely dry and make a rattling sound when shaken in a container.
Once your seeds are bone-dry, it's time to store them properly. Place them in an airtight container, like a glass jar or resealable bag, and keep them in a cool, dark place—such as your pantry or fridge.
Properly stored seeds can last up to 12 months while retaining their flavor and viability. Label your container with the harvest date to track freshness and ensure you use the oldest seeds first.
If you're planning to roast your seeds, toss them in a light coating of olive oil and your favorite seasonings before baking at 300°F for 20-25 minutes. Roasting enhances their nutty flavor and makes them irresistibly crunchy.
For gardeners looking to save seeds for planting, store them in a paper envelope in the fridge to maintain their germination rates for up to 2 years.
Don’t let a few missteps ruin your hard-earned pumpkin seed harvest. With these cleaning and drying methods, you’ll enjoy delicious snacks and healthy seeds for months to come—no mold or bitterness in sight! 🌱