Propagation
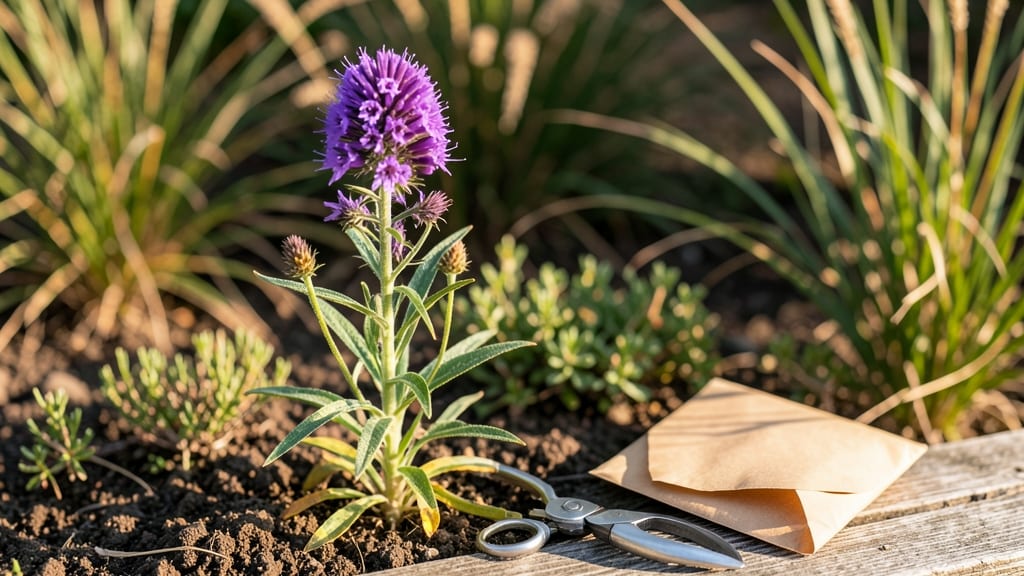
Harvesting verbena seeds 🌸 at the right moment turns those fading blooms into next year’s garden stars.
Verbena’s delicate blooms hide a secret: tiny seeds that can multiply your garden’s beauty for years—if harvested correctly. Skip these steps, and you’ll end up with seeds that refuse to sprout. The difference between a thriving patch of verbena and a failed experiment often comes down to timing and technique.
Between July and September, when the flowers fade but before they scatter, is your window. Grab a pair of scissors or pruners, and you’ll be ready to collect seeds that pack a punch for germination.
I’ll walk you through the exact moment to snip, how to dry them properly, and the best way to store them so they don’t lose their power.
Whether you’re saving seeds to replant or share with fellow gardeners, this guide ensures you get the most out of every seed. No more wasted effort—just vibrant, healthy verbena waiting to bloom again.


When and how to identify verbena seeds ready for harvesting
Harvesting verbena seeds at the right moment ensures viable germination and healthy new plants. Timing is everything—collect seeds too early, and they won’t mature; wait too long, and they’ll scatter naturally.
The key is catching them post-bloom but before dispersal, when the seed pods turn from green to a brownish hue.
Annual verbena varieties like Verbena bonariensis or Verbena hybrida produce seeds in late summer, while perennial types such as Verbena canadensis may yield seeds in early fall. Always monitor your plants closely, as seed readiness varies by climate zone and growing conditions.
| Seed Stage | Visual Cues | Best Time to Harvest | Tools Needed |
|---|---|---|---|
| Early Bloom | Petals fully open, seed pods green | Not ready | None |
| Mid Bloom | Seed pods turning brown, petals wilting | Wait 3-5 days | Pruning shears |
| Late Bloom | Dry brown pods, seeds rattling inside | Harvest immediately | Paper bags, gloves |
| Post-Dispersal | Empty pods, seeds scattered | Too late | None |
Look for dry, papery seed pods that split open easily when touched. Gently squeeze a pod—if seeds rattle inside or fall out, they’re ready. Use clean pruning shears or your fingers to snip or pluck the pods, avoiding the main stem to prevent plant damage.
Harvest on a dry, sunny morning to minimize moisture and mold risks. Place pods in a brown paper bag (not plastic) to allow airflow while preventing seed loss. Label the bag with the verbena variety and harvest date for future reference.
Perennial verbena varieties often produce seeds later in the season, sometimes as late as October. If your climate has early frosts, harvest these pods indoors under grow lights to complete drying. Annual varieties like Verbena tenuisecta typically yield seeds by late August.
Never harvest seeds from diseased plants or those treated with chemical pesticides, as this can reduce viability. Opt for organic gardening methods to ensure healthy seed stock. If your verbena plants are overcrowded, prioritize harvesting from the healthiest stems first.
For large-scale harvesting, use a seed collection tray lined with paper under the plant. Shake the stems gently to release seeds naturally, then transfer them to your drying bags. This method works best for tall verbena varieties like Verbena bonariensis.
Store harvested pods in a cool, dark place (like a seed storage box) until fully dry—typically 1-2 weeks. Once dry, gently rub the pods between your fingers or use a seed thresher to release seeds. Discard any remaining chaff or debris.
Test seed viability by placing a few in a moist paper towel for 48 hours. If they plump up and show signs of sprouting, they’re ready for planting. If not, store them in the fridge for up to 6 months to maintain freshness.
Pro tip: Harvest seeds from multiple plants to ensure genetic diversity in your next generation. Mix seeds from different verbena colors for a vibrant, unpredictable display next season. 🌼
Step-by-step guide to drying and storing verbena seeds for germination
Once you’ve harvested your verbena seeds, the next critical step is drying them properly to preserve seed viability. Damp seeds stored in airtight containers will mold or rot within days, rendering them unusable.
The key is balancing moisture removal with gentle handling to avoid damaging the delicate seed coats. I’ve learned through trial and error that two methods work best: air-drying and paper towel drying, each with its own advantages depending on your climate and tools.
After drying, storing verbena seeds in the right conditions can extend their life for 2-3 years or more. The ideal environment is cool, dark, and dry, with humidity levels below 40%.
I’ve had the best success using paper envelopes or glass jars with silica gel packets to absorb excess moisture.
Common mistakes like storing seeds in the fridge without proper containers or exposing them to light can drastically reduce germination rates, so let’s dive into the exact steps to avoid these pitfalls.
How to Dry Verbena Seeds
- Method 1: Air-Drying
Spread seeds in a single layer on a paper towel or breathable mesh screen. Place in a shady, dry location with good airflow (like a garage or covered porch). Avoid direct sunlight to prevent overheating. - Method 2: Paper Towel Drying
Line a paper towel with seeds spaced 1 inch apart. Fold another towel over the top and place between two books for 3-5 days. Flip daily to ensure even drying. - Check for Dryness
Seeds are ready when they’re lightweight and brittle. Gently press a seed—if it crumbles easily, it’s dry. Store immediately if humidity is high.
Optimal Storage Conditions
- Choose Containers
Use paper envelopes (for short-term storage) or glass jars with airtight lids (for long-term). Label with the harvest date and verbena variety. - Control Humidity
Add 2-3 silica gel packets to jars or store envelopes in a sealed container with a desiccant. Avoid plastic bags, which trap moisture. - Store in Coolth
Keep seeds in a dark, cool place (like a pantry or basement) at 35-45°F. A refrigerator works too, but avoid the freezer—freezing damages seed coats.
Testing Seed Viability
- Float Test
Fill a glass with room-temperature water. Drop 10 seeds in—viable seeds sink within 15 minutes; floaters are nonviable. Discard floaters immediately. - Germination Test
Moisten a paper towel and place 10 seeds between two. Store in a ziplock bag in a warm, dark place. Check for sprouts in 7-14 days—50%+ germination means your seeds are ready to plant.
One of the biggest mistakes I’ve seen gardeners make is rushing the drying process. For example, using a hairdryer or oven to speed up drying can overheat seeds and kill their germination potential.
Similarly, storing seeds in unlabeled containers leads to confusion—imagine mixing verbena seeds with tomato seeds and forgetting which is which! Always label containers clearly with the plant name and harvest date.
If your seeds fail the viability test, don’t toss them out just yet. Sometimes, stratification (mimicking winter conditions) can trick stubborn seeds into germinating. Place them in a moist paper towel, seal in a ziplock bag, and refrigerate for 2-4 weeks before testing again.
This method has worked wonders for my perennial verbena varieties, which often need a cold treatment to break dormancy.
With these steps, you’ll ensure your verbena seeds stay viable for years, ready to bring new life to your garden whenever you’re ready to plant. Happy growing! 🌱