Vegetables
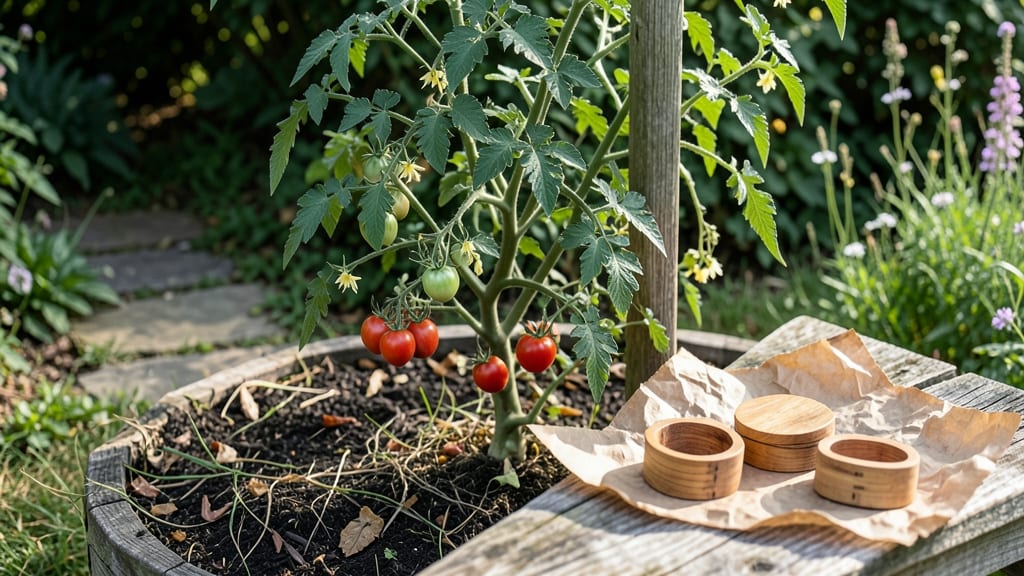
Saving tomato seeds from this year’s garden means next summer’s harvest starts now. 🌱 The process is simpler than it seems—no fancy equipment, just ripe tomatoes, a little patience, and the right drying technique to keep those seeds viable for planting.
First, pick tomatoes that are fully ripe (or even slightly overripe) for the best seed quality. Scoop out the gel and seeds into a jar, add water, and let it ferment for 2-3 days.
This natural process helps separate viable seeds from the pulp. After that, it’s all about drying them properly—whether on paper towels, in mesh bags, or spread thin on a screen.
When done right, your seeds stay fresh for years, ready to grow into the same heirloom varieties you love. The key is avoiding mold and ensuring even drying. With this method, you’ll save money, preserve rare varieties, and take pride in growing plants true to their original flavor and vigor.
Perfect for organic gardeners, heirloom collectors, or anyone tired of store-bought seeds. Once you master this, you’ll never buy tomato seeds again—and your future harvests will thank you for the extra care.
📚 In This Guide
- What you need
- Instructions
- Tips and common mistakes
- Wrapping up and next steps
What you need
- ● Ripe tomatoes: Choose fully mature, disease-free tomatoes (3–5 is a great starting batch).
- ● Sharp knife or scissors: For cleanly slicing open tomatoes.
- ● Small bowls or containers: 1–2 shallow dishes (glass or ceramic works best) to hold seed gel and water.
- ● Water: Enough to fill one bowl halfway for fermenting seeds (fermenting helps separate viable seeds from debris).
- ● Fine-mesh strainer or cheesecloth: To drain excess gel and rinse seeds.
- ● Paper towels or coffee filters: For drying seeds (use 1–2 sheets per batch).
- ● Small envelopes or airtight containers: For long-term storage (e.g., 3x5-inch seed envelopes or labeled jars).
- ● Labeling markers or tags: To note tomato varieties and harvest years.
- ● Desiccant packets: For extra-dry storage containers (absorbs moisture over time).
- ● Fine-tip tweezers: For gently handling tiny seeds during sorting.
- ● Humidity monitor: If storing seeds in a climate-controlled space.
Step-by-Step instructions for drying tomato seeds
Here's how to save seeds from your best tomatoes—simple, foolproof, and ready for next year.
🌱 Step 1: Select and Extract Ripe Tomatoes
Pick tomatoes that are fully ripe but still firm—overripe ones ferment too quickly and ruin seeds. Cut them open and scoop out the jelly-like pulp into a bowl. I like to use a spoon to scrape every last bit, but don’t worry if a few seeds stick to the tomato skin.
Add 1 cup of water to the bowl and stir well. Let the mixture sit for 1-2 days at room temperature. You’ll see the good seeds sink to the bottom while the bad ones (and pulp) float. This fermentation process removes the gel that coats seeds, which can inhibit germination.
💧 Step 2: Rinse and Prepare Seeds for Drying
After the fermentation period, pour the mixture through a fine-mesh strainer or cheesecloth. Rinse the seeds under cool running water until the water runs clear—this removes any remaining pulp. Gently pat them dry with a clean paper towel or cloth napkin. Don’t rub them too hard, or you might damage the seed coats.
Spread the seeds in a single layer on a clean, dry paper towel or a seed-saving screen. I like to use a baking sheet lined with parchment paper for easy cleanup. Make sure the seeds aren’t touching each other—crowding can cause mold. Place them in a warm, dry spot with good airflow, like a sunny windowsill or a seed drying rack.
☀️ Step 3: Dry Seeds Completely
Let the seeds dry for 3-7 days, depending on humidity. They’re ready when they feel hard and brittle to the touch—like tiny beads. If your climate is humid, you might need to prop a small fan nearby to speed up the process. Avoid using a hairdryer or oven, as heat can crack the seed coats and reduce viability.
Test a few seeds by gently pressing them with your fingernail. If they don’t dent easily, they’re fully dry. Once dry, transfer them to a small envelope or airtight container. Label it with the tomato variety and the date—seeds stored properly can last 3-5 years, but germination rates drop over time.
⏰ Step 4: Store Seeds for Long-Term Viability
Place the sealed container in a cool, dark place like a pantry or refrigerator. Moisture and light are the enemies of seed storage, so avoid basements or garages if they’re damp. I like to keep mine in a small glass jar with a tight lid, as glass doesn’t absorb moisture like paper envelopes can.
Check your seeds once a year to ensure the container is still sealed. If you notice any signs of mold or mustiness, discard them immediately. Properly stored seeds should remain viable for years, giving you a head start on next season’s garden.
Tips & tricks for perfect tomato seed preservation
A few key strategies will help you maximize seed viability and avoid common pitfalls in the drying process.
Fermentation Time Matters: The 1-2 day fermentation period in Step 1 is crucial for removing the gel coating that inhibits germination. If you're in a cooler climate (below 70°F), you might need to extend this to 3 days—just watch for mold, which appears as fuzzy spots. The seeds are ready when they sink to the bottom and the water smells slightly fermented (like yogurt).
Drying Environment is Key: In Step 3, humidity is your biggest enemy. If your seeds aren't drying properly within 3-7 days, create airflow by placing a small fan nearby (about 6 inches away) on low setting. Never use direct heat—even a hairdryer on low can generate too much heat and crack the delicate seed coats. A sunny windowsill works best during dry days.
Labeling Strategy: Before storing your seeds in Step 4, include these details on your label: tomato variety, year harvested, and your initials. I also add a small dot of nail polish on the envelope corner for each year's harvest—this creates a visual timeline when checking seed viability later. This simple system prevents mix-ups between heirloom varieties that might look similar.
Seed Viability Test: If you're unsure about old seeds, do this quick test: place 10 seeds between damp paper towels in a sealed bag. Check for sprouts in 7-14 days. If 50% or more sprout, they're still viable. I test a few seeds from each variety every 2-3 years to monitor viability—this helps me decide which seeds to replant versus replace.
Pro Tips for Drying Tomato Seeds
- A few key strategies will help you maximize seed viability and avoid common pitfalls in the drying process.
- Fermentation Time Matters: The 1-2 day fermentation period in Step 1 is crucial for removing the gel coating that inh...
- Drying Environment is Key: In Step 3, humidity is your biggest enemy. If your seeds aren't drying properly within 3-7...
Frequently asked questions
Got questions about drying tomato seeds? You’re not alone!
Here are answers to the most common queries—from timing to troubleshooting—to help you save those seeds like a pro.
How long does it take to dry tomato seeds completely?
Drying tomato seeds typically takes 5–7 days in a well-ventilated spot (like a mesh screen or paper towel). Check for readiness by gently pressing a seed—if it crumbles easily, it’s dry! Avoid rushing with heat; slow drying prevents mold.
Can I speed up the drying process?
While patience is key, you can shorten drying time by placing seeds in a single layer on a baking sheet and using a fan on low heat (100°F or less). Avoid ovens or direct sunlight—these can crack seeds or kill viability. Aim for 24–48 hours max with airflow.
What if my seeds smell moldy during drying?
Moldy seeds mean too much moisture or poor airflow. Stop drying immediately, discard the batch, and try again with cleaner seeds (fermented in water for 2–3 days first) and better ventilation. Store seeds in a paper envelope (not plastic) to prevent future mold.
How should I store dried tomato seeds long-term?
Keep seeds in a cool, dark, dry place (like a sealed jar or envelope with a silica packet). Label with the variety and year—seeds stay viable for 2–4 years (some heirlooms last longer!). Test germination before planting by soaking a few in water for 24 hours.
What’s the best alternative if I don’t want to dry seeds?
If drying isn’t your style, try fermenting seeds in water (2–3 days) to separate them from gel, then air-drying on paper towels. For quick storage, freeze seeds in a sealed bag for up to a year—just thaw before planting. Both methods preserve viability!
Wrapping up and next steps
Drying tomato seeds is a rewarding way to preserve your garden’s legacy for next season—simple, cost-effective, and full of potential! By following the right steps, you’ll ensure high-quality seeds that sprout into vibrant plants.
Now that you’re equipped with the knowledge, why not give it a try? Gather your tomatoes, start the process, and soon you’ll be sharing your homegrown seeds with fellow gardeners or replanting your own thriving patch. Happy preserving—and here’s to a bountiful harvest ahead! 🌱✨