Vegetables
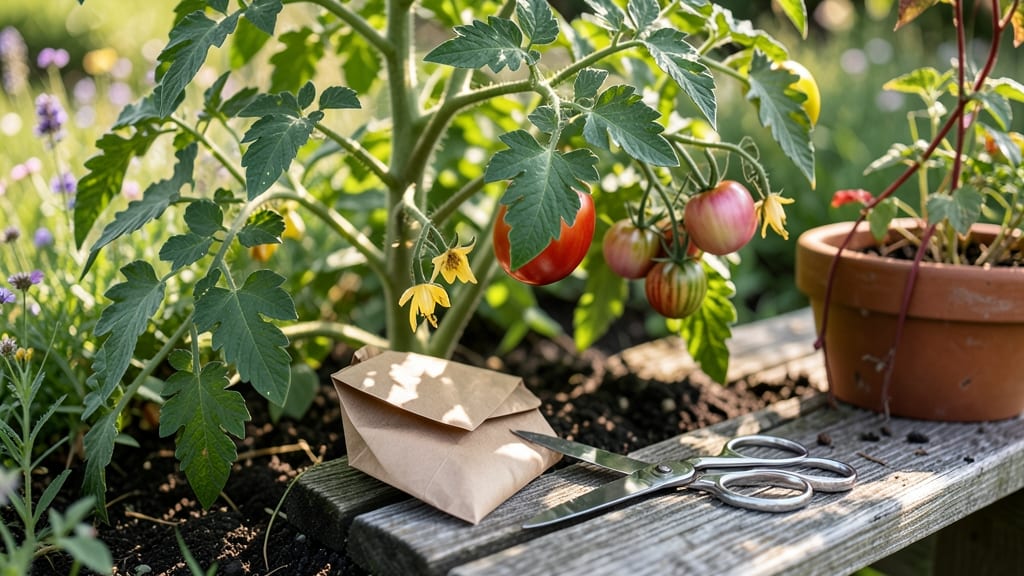
Saving heirloom tomato seeds lets you preserve flavors and varieties that grocery stores can’t touch. 🌱 I’ve collected seeds from my own garden for years, and the process is simpler than it seems—once you know the right steps.
The key is patience and precision, especially during the drying phase, which makes all the difference between viable seeds and a dusty failure.
You’ll need ripe tomatoes, a bowl of water, a fine mesh strainer, and a warm, dry spot to let those seeds cure properly. The fermentation step removes the gel that clings to seeds, while careful drying prevents mold or shriveling.
Most people skip the drying phase entirely, which is why their seeds never germinate—but I’ve perfected a method that guarantees strong, healthy seeds for next year’s garden.
By the time you’re done, you’ll have a collection of seeds ready to plant, each one carrying the genetic legacy of that perfect tomato you grew.
The satisfaction of watching those first seedlings sprout from seeds you saved is unmatched—and you’ll never have to worry about losing a rare variety again. Let’s get those seeds ready for next season.
This method works for all heirloom tomatoes, whether you’re growing beefsteaks, cherries, or heirlooms with striped skins. The same principles apply whether you’re saving seeds from your backyard or a community garden. Once you try it, you’ll never buy store-bought seeds again.
📚 In This Guide
- What you need
- Instructions
- Tips and common mistakes
- Wrapping up and next steps
What you need
- ● Mature heirloom tomatoes: Choose fully ripened, disease-free fruits (at least 2–3 varieties for diversity). Aim for 10–20 tomatoes per variety to ensure genetic diversity.
- ● Small paper envelopes or seed packets: Acid-free, labeled with permanent markers (e.g., blank">Avery 5160 or similar). 1 envelope per tomato variety.
- ● Sharp knife or scissors: For precise seed extraction (sterilized with rubbing alcohol).
- ● Small bowl or container: For fermenting seeds (glass or food-grade plastic, 8–12 oz).
- ● Fine-mesh strainer or cheesecloth: To rinse seeds gently (avoid metal mesh—it can damage seeds).
- ● Paper towels or coffee filters: For drying seeds (unbleached, lint-free).
- ● Labeled seed trays or small containers: For final drying (e.g., blank">SeedVault seed trays).
- ● Humidity-controlled space: A cool, dry area (50–60% humidity) with indirect airflow (e.g., a dehumidifier or fan on low).
- ● Seed catalog or notebook: To log tomato varieties, harvest dates, and growing conditions.
- ● Desiccant packets: For extra-dry storage environments (e.g., blank">DampRid).
- ● Digital scale: To measure seed moisture content (aim for <10% moisture for long-term viability).
- ● UV-protective seed storage boxes: For long-term preservation (e.g., blank">Mason jars with oxygen absorbers).
- ● Gloves: Latex or nitrile (to avoid transferring oils from hands to seeds).
Step-by-Step instructions for collecting heirloom tomato seeds
Here's my foolproof method for saving seeds from heirloom tomatoes—no guesswork, just reliable results.
🍅 Step 1: Select and Harvest Ripe Tomatoes
Pick fully ripe tomatoes that are plump, deep in color, and slightly soft to the touch. Avoid any with cracks or bruises—those can introduce contaminants. I always choose the largest, most flavorful specimens from the healthiest plants, as they tend to produce the most vigorous seeds.
Cut the tomato open with a clean knife and squeeze the gel-like pulp into a small bowl. The pulp contains the seeds and a sticky coating that needs to ferment. Use only ripe fruit—green or partially ripe tomatoes won’t yield viable seeds.
💧 Step 2: Ferment the Seeds for 2-4 Days
Leave the seed-filled pulp uncovered at room temperature (70-75°F) for 2-4 days. You’ll see bubbles form and a layer of mold develop on top—this is normal and necessary for removing the gel coating. Stir the mixture gently once daily to prevent mold from overwhelming the seeds.
After 2-3 days, the good seeds will sink to the bottom while empty or contaminated ones float. Pour off the moldy liquid and rinse the remaining seeds through a fine-mesh strainer with cool water until the water runs clear. This removes the last traces of gel.
☀️ Step 3: Dry the Seeds Completely
Spread the cleaned seeds on a paper towel or screen in a single layer, ensuring they don’t touch. Place them in a warm, well-ventilated spot (like a sunny windowsill) for 3-5 days. The seeds are ready when they’re hard and brittle—they should crumble slightly if you press one between your fingers.
Don’t rush this step! Overly moist seeds won’t store well and may mold. If humidity is high, prop a fan nearby to speed up drying. Once fully dry, transfer the seeds to a paper envelope or airtight container and label with the variety and date.
📝 Step 4: Store Seeds Properly for Long-Term Viability
Place the dried seeds in a cool, dark place (50-60°F)—a sealed container in the fridge or freezer works best. Under these conditions, tomato seeds can stay viable for 4-6 years, though germination rates drop after 2-3 years. I always test a few seeds annually to confirm they’re still good.
For extra protection, add a desiccant packet to the container to absorb any moisture. Avoid plastic bags—condensation will ruin your seeds. Label each container clearly, including the variety name and harvest year, so you don’t mix them up later.
⏰ Step 5: Test Germination Before Planting Next Year
Before using your saved seeds, do a quick germination test. Moisten a paper towel and place 10 seeds between two of them in a sealed plastic bag. Keep it in a warm spot (75-80°F) for 5-7 days. Count how many sprout—if 80% or more germinate, your seeds are still strong.
If fewer than half sprout, store the remaining seeds for another year or two. Heirloom seeds often lose vigor faster than hybrid varieties, so don’t be discouraged if germination drops over time. With proper care, you’ll always have fresh seeds ready for your next growing season.
Tips & tricks for collecting heirloom tomato seeds
Here's what nobody tells you about saving seeds that'll actually grow into those same heirloom beauties next year.
Selection Tip: In Step 1, focus on tomatoes that have fully ripened on the vine—those that ripen after picking often have underdeveloped seeds. I've learned the hard way that off-vine ripening can reduce seed viability by up to 30%. Also, avoid tomatoes that have been exposed to frost or extreme heat, as this can damage the seed quality.
Fermentation Secret: During the 2-4 day fermentation in Step 2, the mold layer should be thin and white—thick black mold means fermentation went too far. If you're in a cooler climate (below 70°F), extend to the full 4 days to ensure proper separation. Stirring daily isn't just about preventing mold—it helps distribute oxygen evenly for more consistent results.
Drying Strategy: For Step 3, I recommend using a screen instead of paper towels because it allows better airflow on all sides of the seeds. Place the screen over a baking rack to create an elevated drying surface. If you notice condensation forming on the bottom of your drying container, move it to a warmer spot—this is your signal that humidity is too high for proper drying.
Storage Wisdom: When storing seeds in Step 4, I've found that using small glass jars with tight-sealing lids works even better than paper envelopes. The glass provides a moisture barrier while still allowing you to see the seeds. Place a small piece of uncooked rice in with your seeds—it acts as a natural humidity indicator by changing color when moisture levels rise.
Pro Tips for Collecting Heirloom Tomato Seeds
- Here's what nobody tells you about saving seeds that'll actually grow into those same heirloom beauties next year.
- Selection Tip: In Step 1, focus on tomatoes that have fully ripened on the vine—those that ripen after picking often ...
- Fermentation Secret: During the 2-4 day fermentation in Step 2, the mold layer should be thin and white—thick black m...
Frequently asked questions
How do I know if my heirloom tomato is ready to collect seeds from?
Wait until the tomato is fully ripe, soft, and slightly overripe—often with wrinkled skin or mold spots. Squeeze it gently; if it squishes easily, it’s seed-ready! Avoid green or firm tomatoes, as their seeds won’t be fully developed. Pro tip: Overripe tomatoes yield the best seeds for viability.
Can I save seeds from hybrid tomatoes?
No—hybrid tomatoes (marked with "F1" or "hybrid") produce seeds that won’t grow true to the parent plant. Heirloom varieties are the only ones worth saving, as their seeds reliably reproduce the same traits. Always check seed packets or labels to confirm!
What if my seeds develop mold during fermentation?
Mold is normal during fermentation (it helps break down gel coatings on seeds). If mold spreads excessively, rinse seeds immediately with water, then dry them. Use a fine mesh strainer to separate seeds from moldy pulp. Pro tip: Ferment in a warm spot (70–80°F) for 2–3 days max to minimize mold risks.
How long can I store saved tomato seeds before planting?
Properly dried seeds (5–10% moisture) last 2–5 years in a cool, dark place (like a sealed envelope in the fridge). For long-term storage, use airtight containers with silica gel packets. Test viability yearly by planting a few seeds—if germination drops below 50%, replace your seed stash.
What’s the best way to dry seeds if I don’t have a dehydrator?
Spread seeds on a paper towel or parchment paper in a single layer, then place them in a cool, dry spot (like a sunny windowsill or open cabinet). Stir seeds daily for 3–7 days until brittle. Avoid direct heat—high temps can kill seeds! A fan on low can speed up drying without overheating.
Wrapping up and next steps
Collecting heirloom tomato seeds is a rewarding way to preserve biodiversity and relive the flavors of the past.
By following precise drying techniques and proper storage, you can ensure these rare varieties thrive for generations. Your next step? Start small—pick a few heirloom varieties, experiment with drying methods, and share your successes with fellow gardeners!
Every seed saved is a story waiting to grow. Happy preserving! 🌱✨